Attaching Files and Images
Agenda is not just for text. You can also attach files and images to your notes, or take photos and video to include. Be aware that files tend to take up much more space than text, and will take longer to sync to other devices.
To attach a file or image to a note on macOS:
- Make sure the note is selected first.
- Perform one of the following actions:
- Drag a file into the note and drop it where you please, or
- Choose the Insert > Attach File… menu item, or
- Right-click and choose Insert > Attach File… from the contextual menu, or
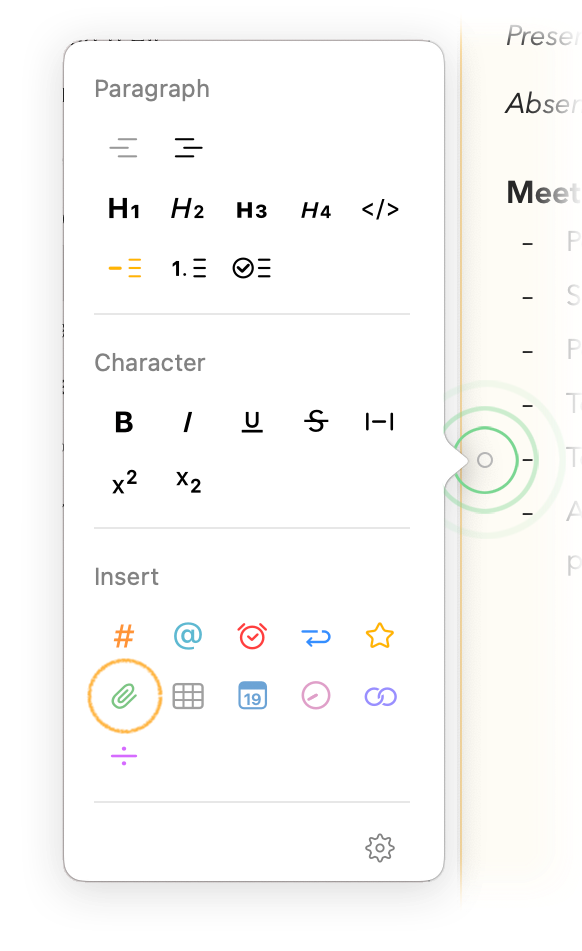
- Click the little circle next to the line where you’d like to insert the attachment and choose the button with - the green paperclip icon to select and import the attachment.
To insert a file or image on iOS and iPadOS, you can do any of the following:
- Tap the plus button in the bar above the keyboard
- Choose the relevant import option:

To insert a file or image on iPadOS, you can also do any of the following:
- Enter split screen mode
- Drag a file into a selected note.
Note: If you attach a folder or a so-called file package (which is also a folder but appears as a file), Agenda will automatically zip its contents and attach the zip file.
Linking to Files
Upon attaching a file to a note, Agenda copies the file to its library to ensure the file is always available. It will also be uploaded to iCloud or Dropbox if you have sync enabled. If you would like to save storage space you use one of the following options.
Linking to files in the Cloud
You can place the files you want to add to your note in the cloud, for instance in iCloud Drive, Dropbox or similar service, and then copy a link to the file into your notes. This has the advantage that it is available from all your devices without taking up space in your Agenda library. Of course it does mean you still need online storage space for this to work.
Linking to files in the Finder
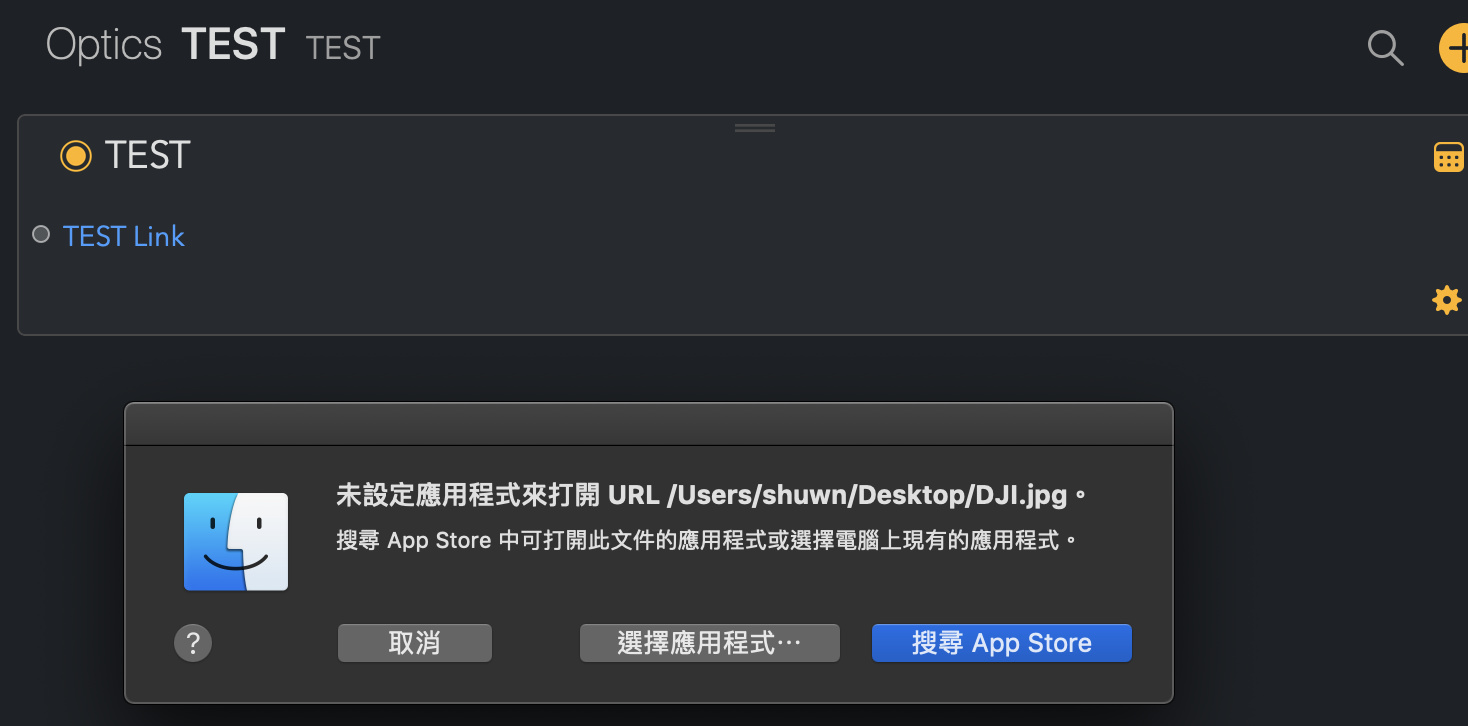
An alternative on macOS is to just create a link to the external file in the Finder. The downside is that the link only works on the Mac where you created the link. Also, if you later move or rename the file, the link is likely broken. For these reasons we generally recommend to use proper attachments, but if you know what you’re doing, you can create a link to an external file in the Finder by simply dragging the file into your Agenda notes and dropping it while holding the Control (⌃) key. When you click the link, Finder will open at the file.
Note: Due to security restrictions, Agenda cannot open the file for you — it can only bring you to the file so that you can open it yourself.
Taking a Photo and Scanning Documents
One convenient way to attach files is to directly take a photo or scan a document from within Agenda. This is even possible on your Mac by using the camera of a nearby iOS or iPadOS device through a feature called Continuity Camera.
To take a photo or scan a document on macOS:
- Select the note you’d like to add a photo or scanned document to.
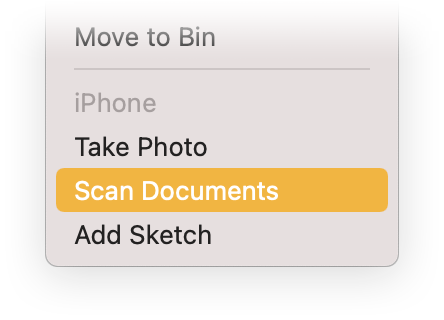
- Right/Control-click the text area of the note and choose the Insert from iPhone or iPad option in the menu, then choose Take Photo or Scan Document under the device you’d like to use:
- You will now be presented with a camera preview on the device you picked. Follow the instructions on screen and the resulting photo or scan will be inserted at the spot where you right/control-clicked.
To take a photo or scan a document on iOS or iPadOS:
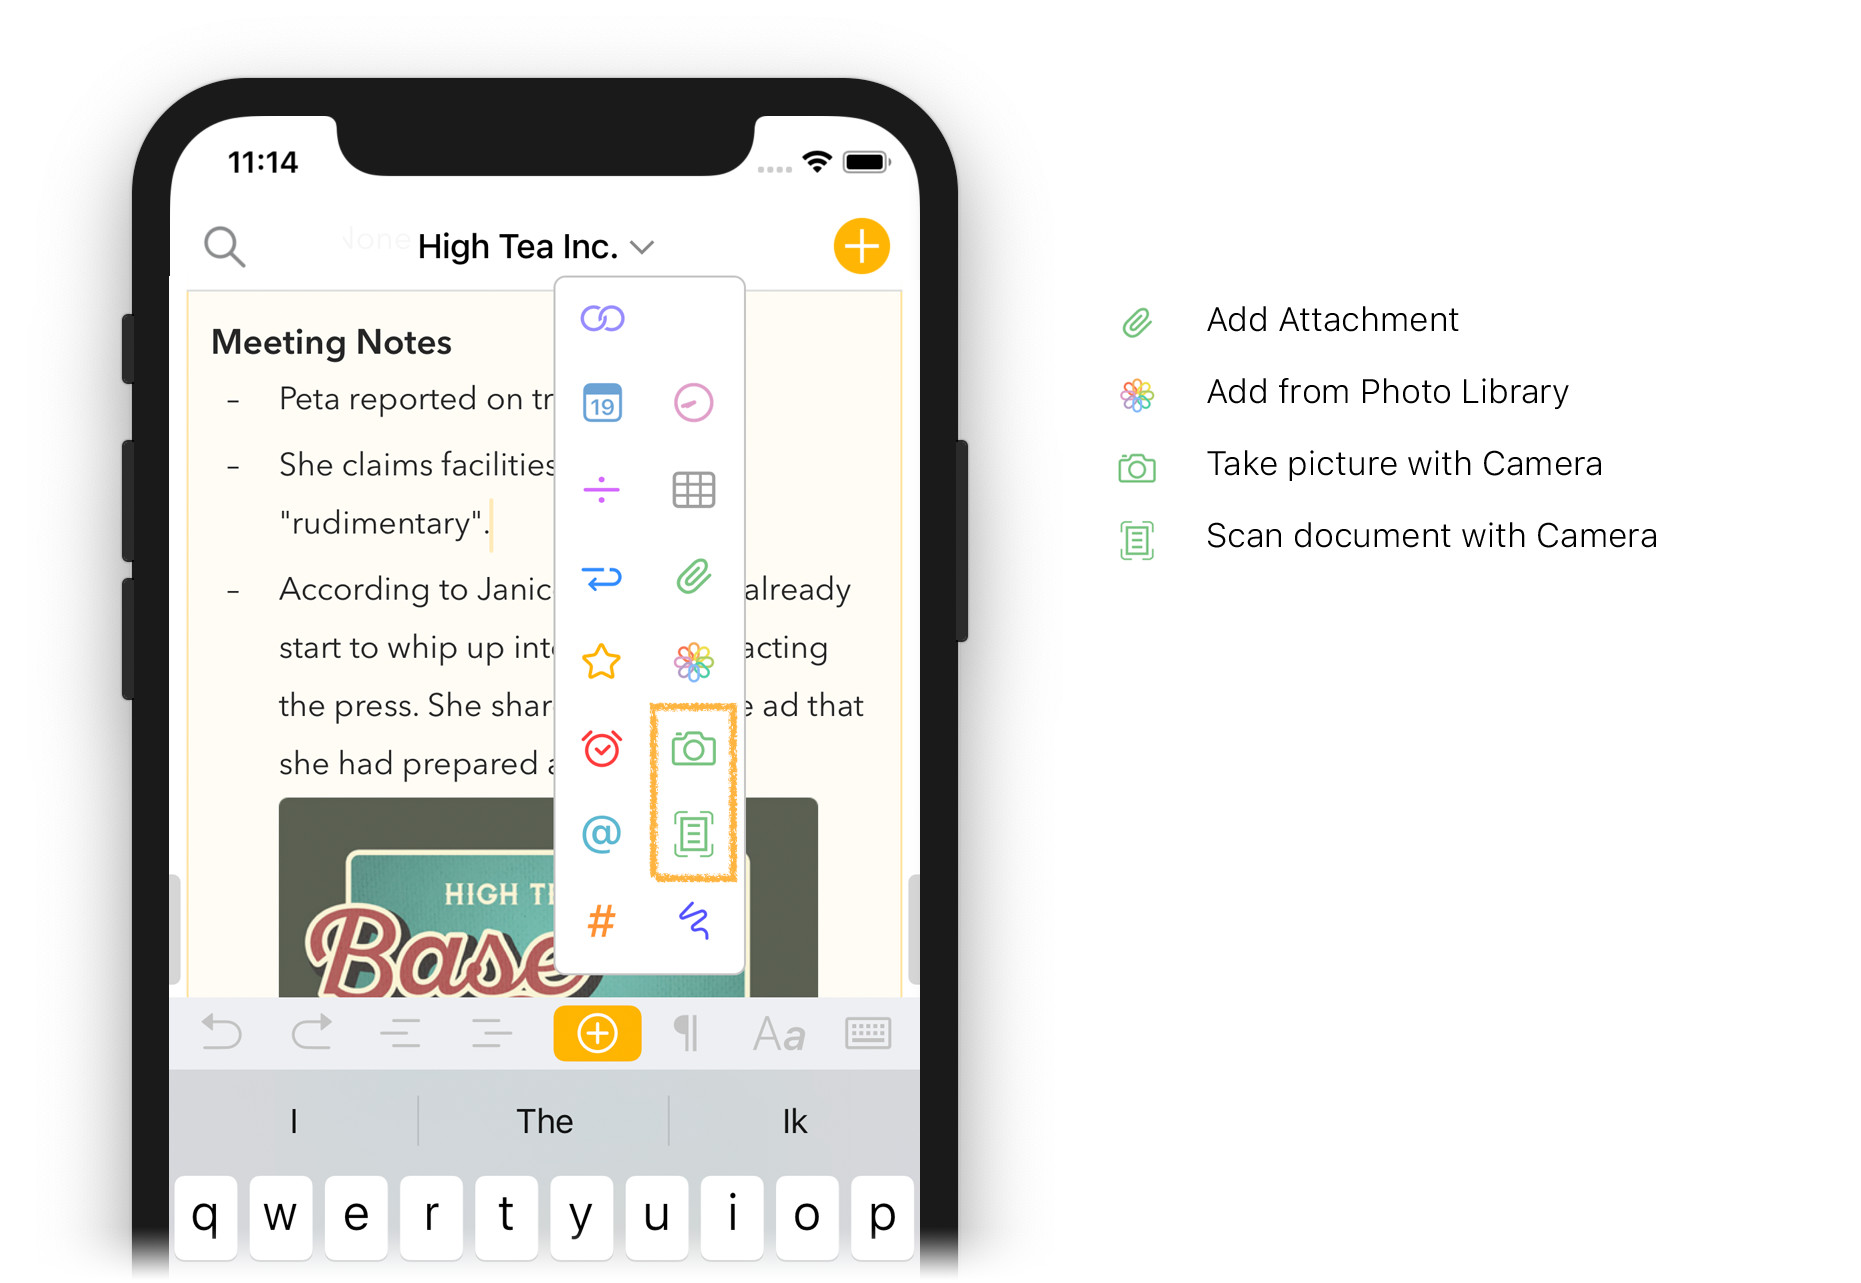
- Tap the plus button in the bar above the keyboard
- Choose the relevant import option:
Adding a Drawing or Sketch
You can directly create drawings and sketches within Agenda and add them to your notes. You can draw whatever you wish using an Apple Pencil on your iPad, or if you like, draw a quick sketch with your fingers on your iPhone. It is even possible on your Mac to use a nearby iOS or iPadOS device as your digital scratchpad or drawing board and add the result to your notes.
To add a drawing on macOS:
- Select the note you’d like to add a drawing or sketch to.
- Right/Control-click the text area of the note and choose the Insert from iPhone or iPad option in the menu, then choose Add Sketch under the device you’d like to use, similar as taking an image or scanning a document.
To add a drawing on iOS or iPadOS:
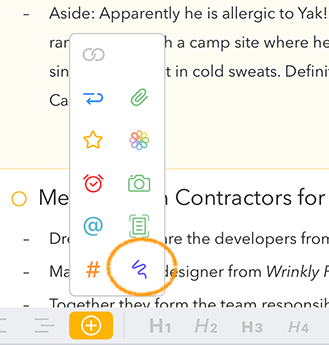
- Tap the plus button in the bar above the keyboard
- Choose the purple scribble icon:
You will be presented by a blank canvas on which you can draw with either the Apple Pencil or your fingers, making use of the standard tools to choose colours, pens, etc:

After finishing your sketches or writing, the drawing is inserted as an attachment in your note.
On iOS and iPadOS you can subsequently edit or add to your drawing by a long-tap of the attachment and choosing Edit from the popover menu.
Tip: You can also directly write in your notes using the Apple Pencil to add text as typed text, see Taking Notes
Working with Attachments
Once you have an image or file attached to a note, you have a number of different actions available to you. The way you work with attachments is a little different for each device, but you can perform the same set of actions.
On macOS, you can bring up a menu of options simply by clicking on the attachment:
Tip: There are some useful shortcuts on macOS for some of the actions shown in the menu. For example, holding in ⌘ and clicking the attachment will show the Quick Look preview immediately. Double clicking the attachment will open it in another application. See also the Gestures Overview.
On iOS and iPadOS, tapping an attachment shows the popover menu. If you tap-and-hold for a second or two, it brings you straight to the preview of the attachment.
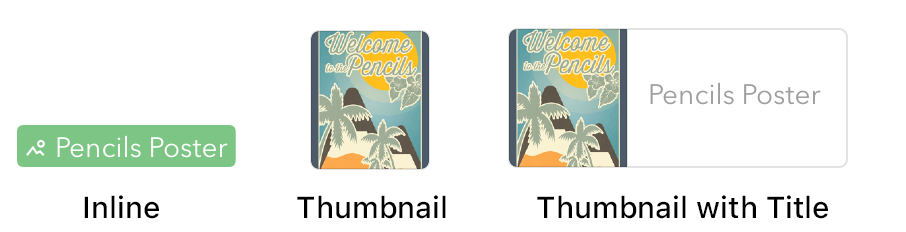
Changing the appearance of attachments
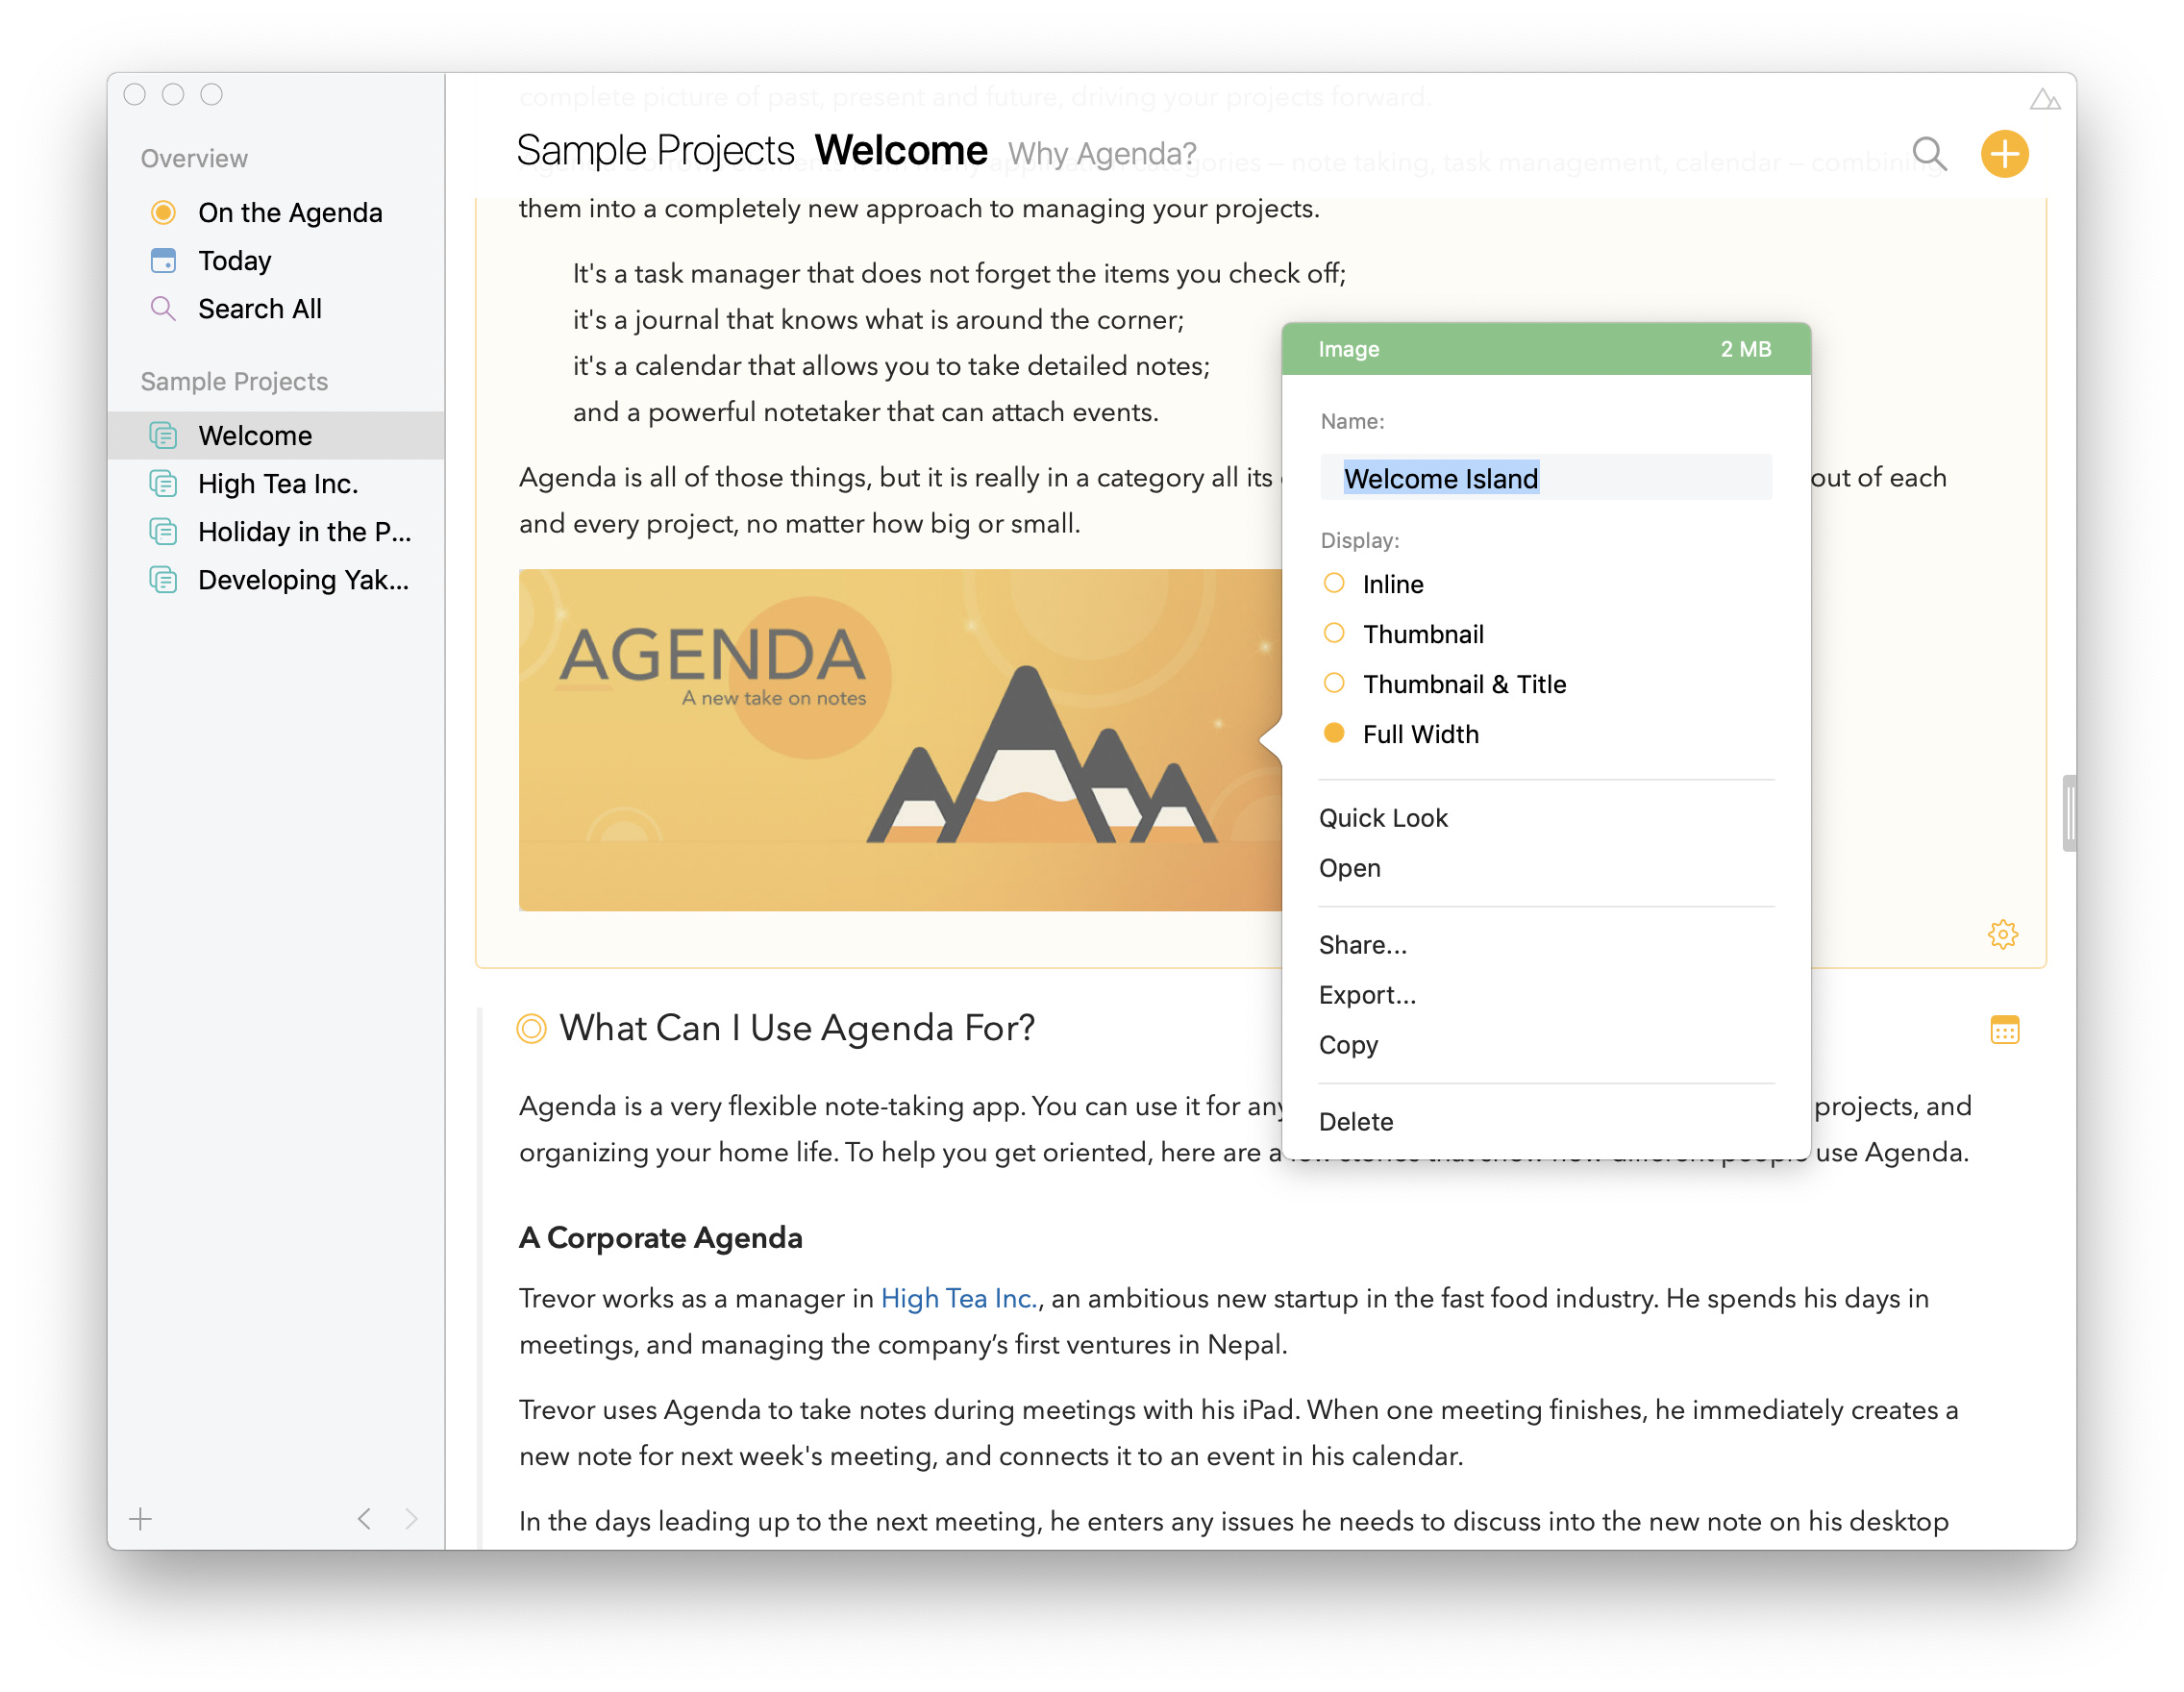
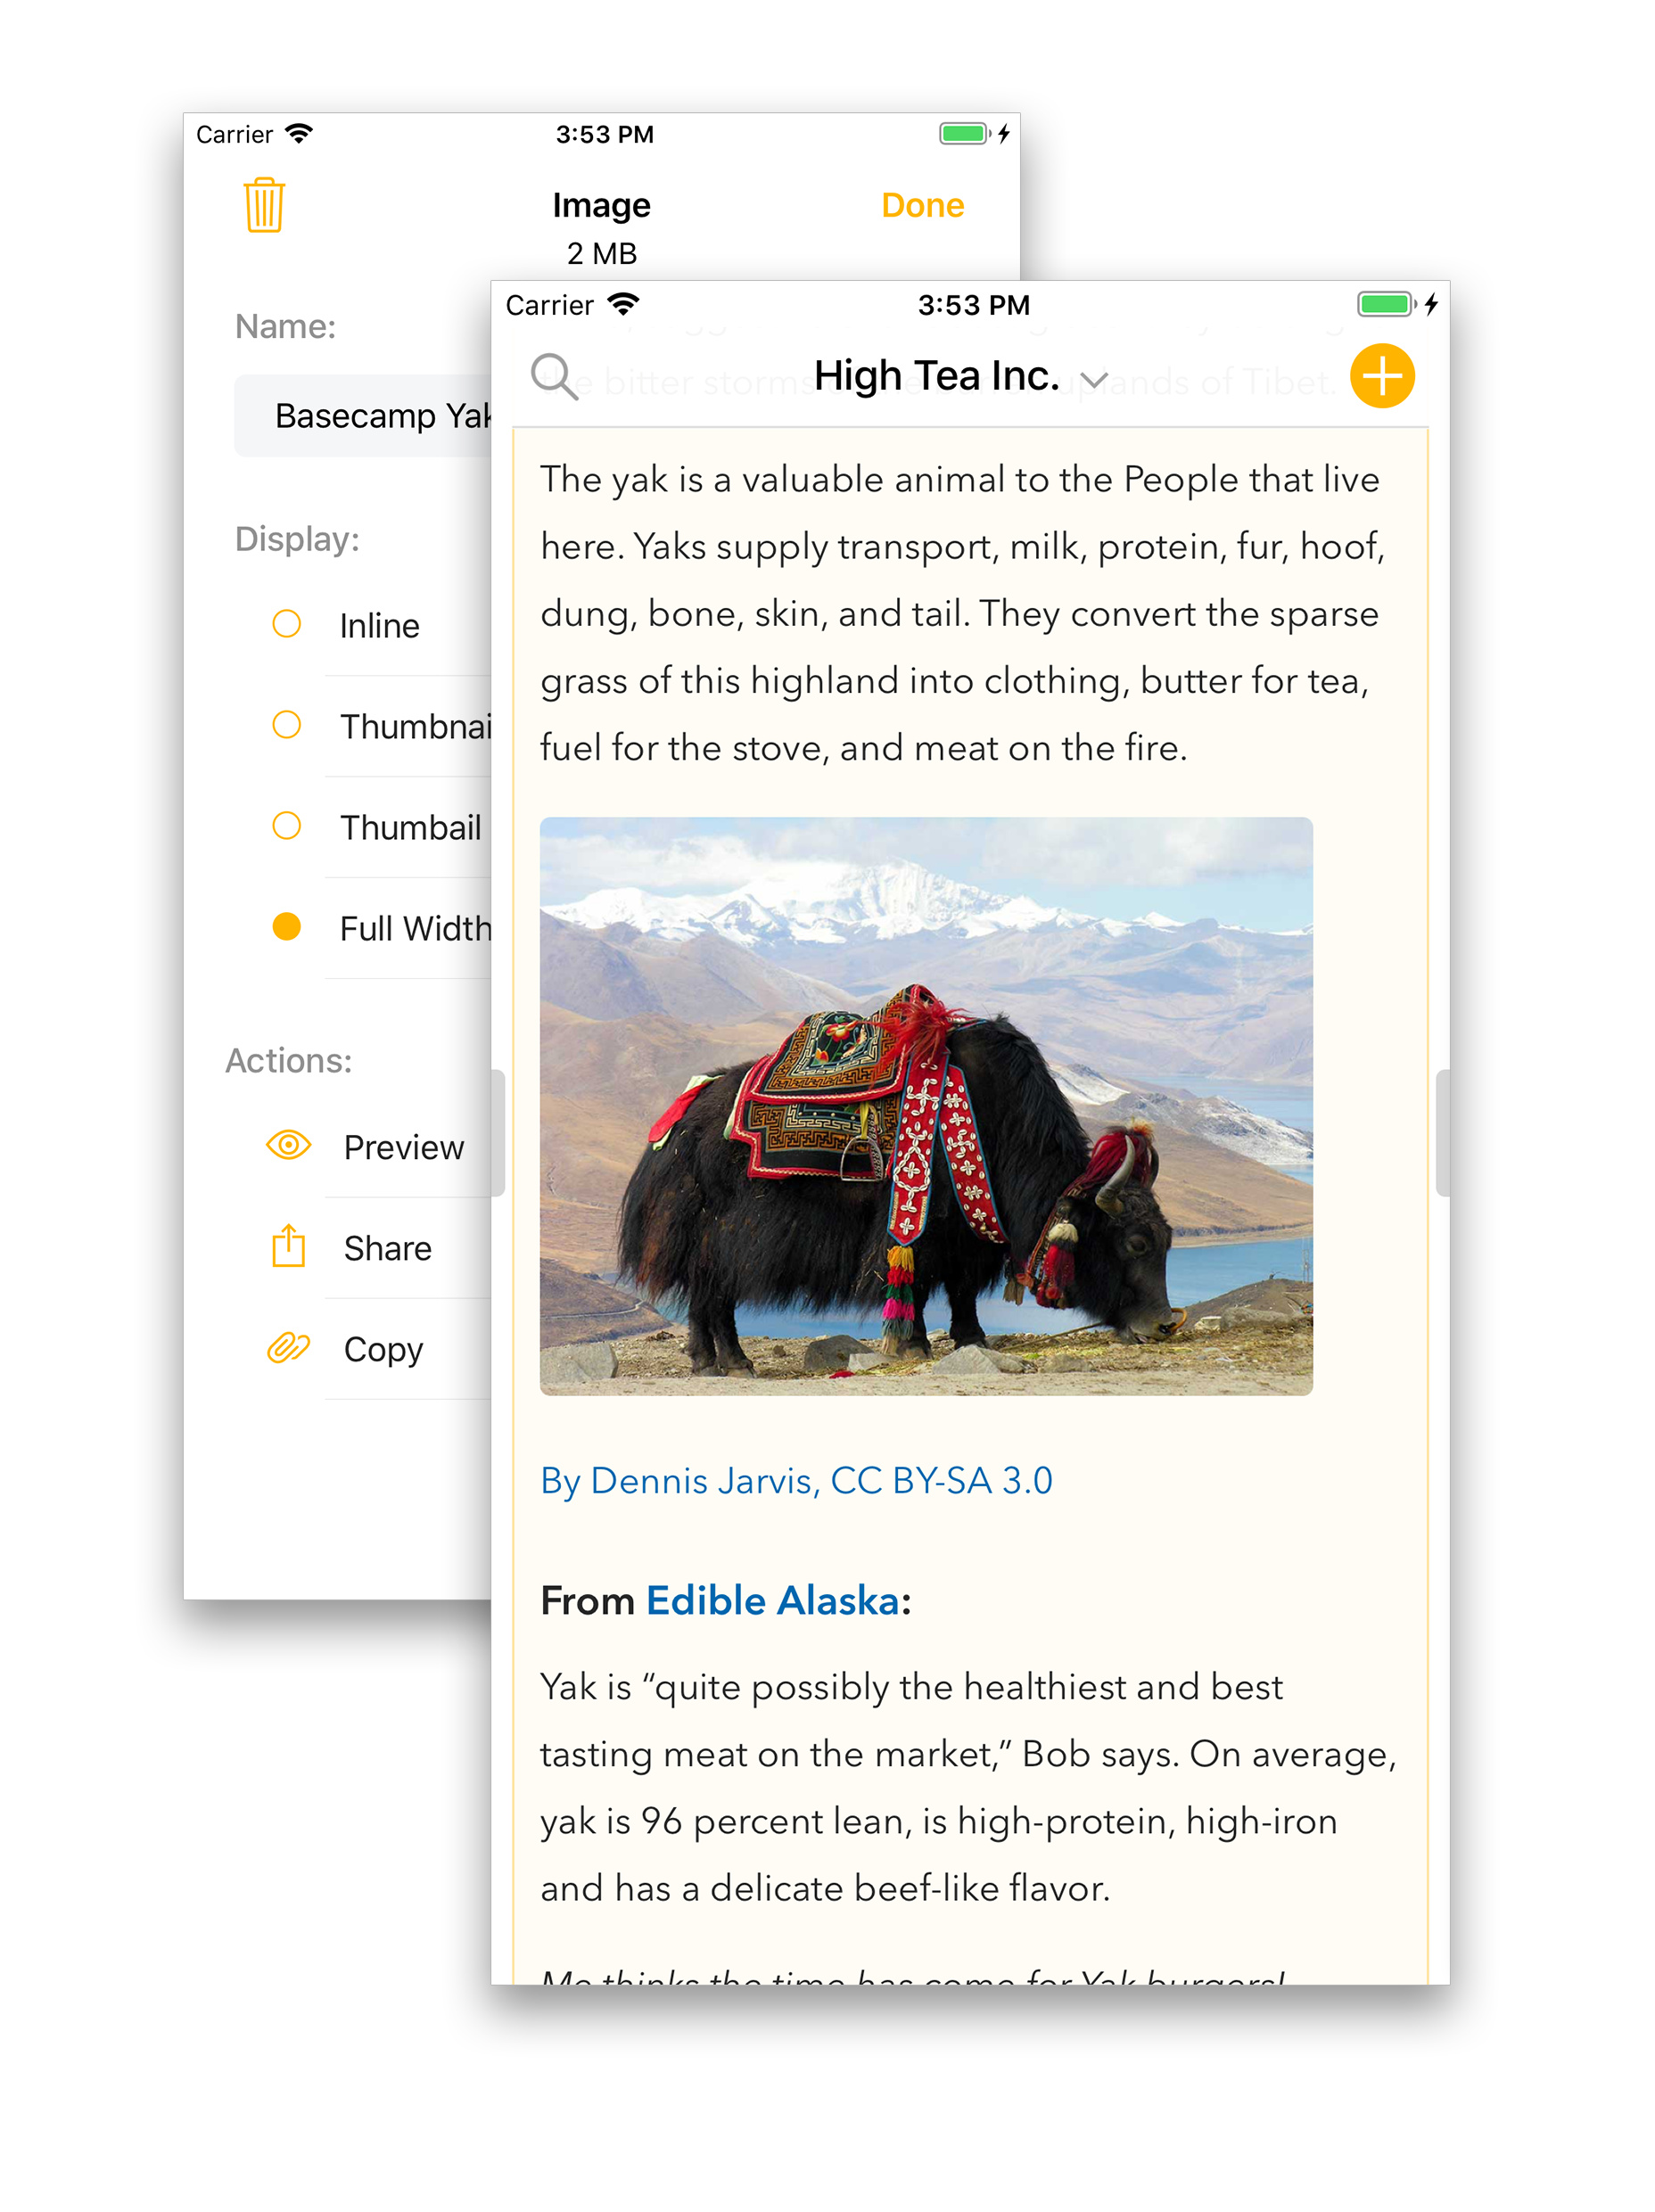
In the popover that appears, you can choose a display style, from a compact inline style that looks similar to tags and people tags but then green) to thumbnail styles with and without a title and a full width style:
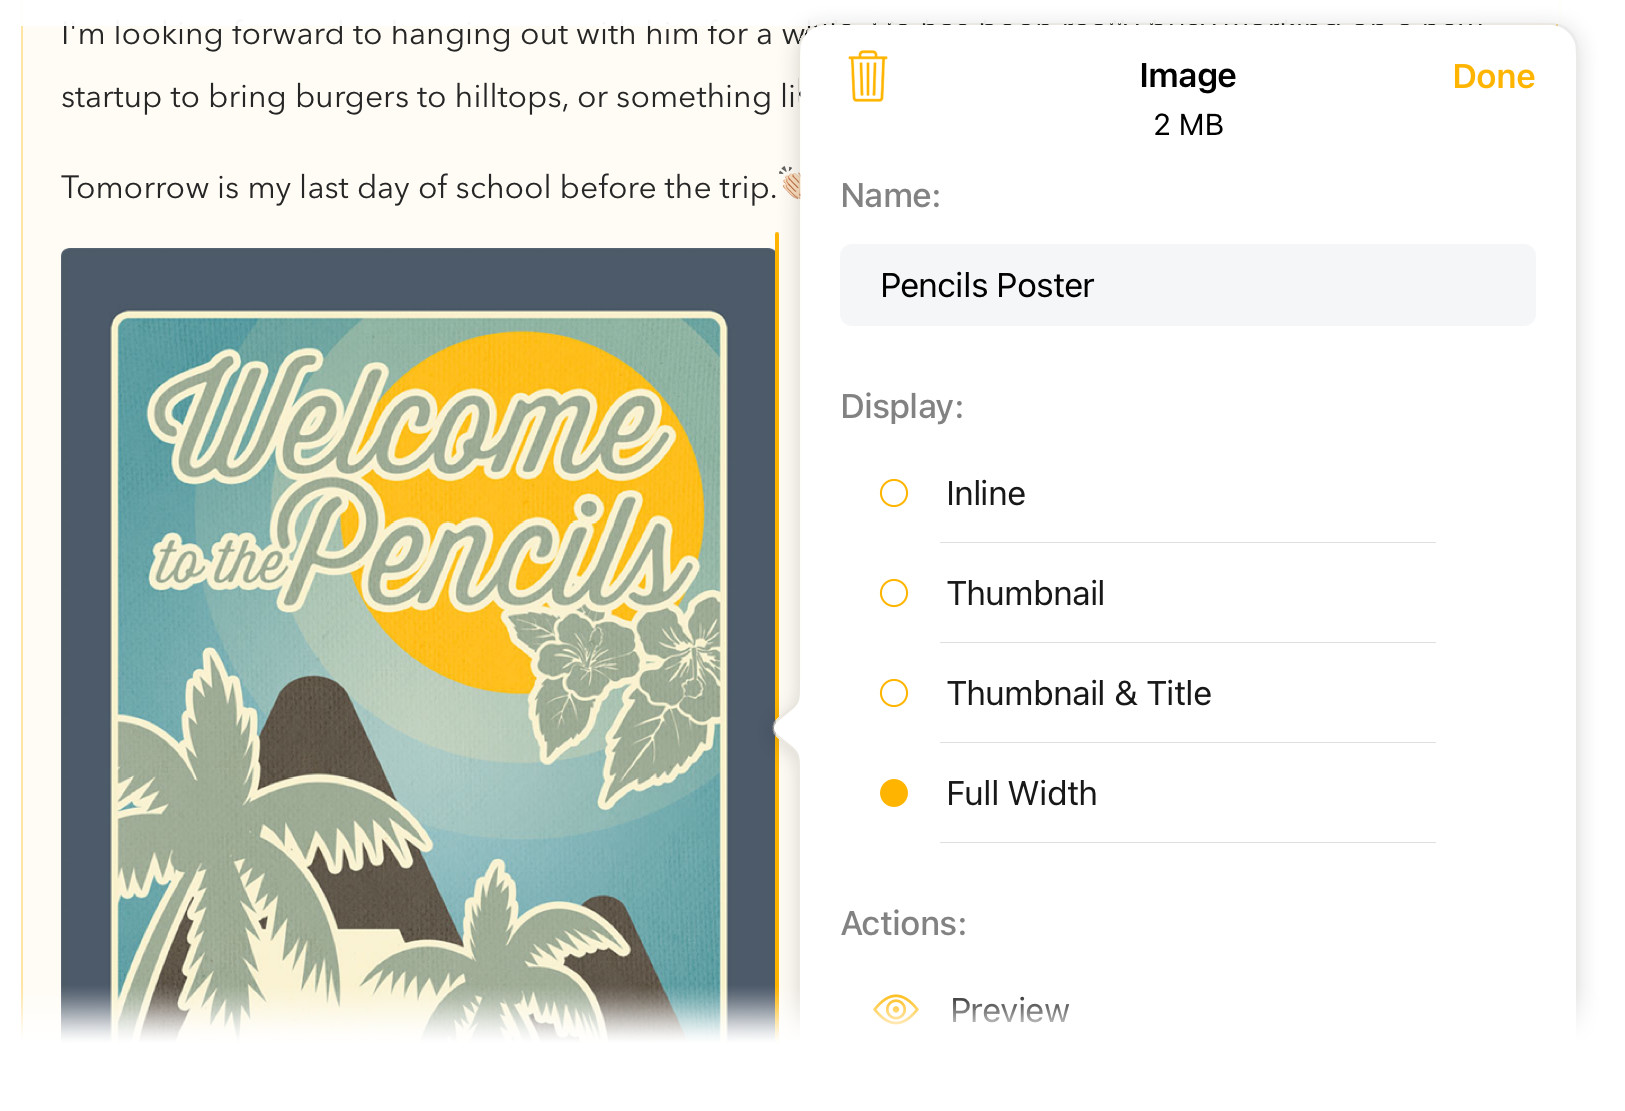
Premium: The full width style for attachments is a premium feature, and requires the premium feature upgrade be purchased.
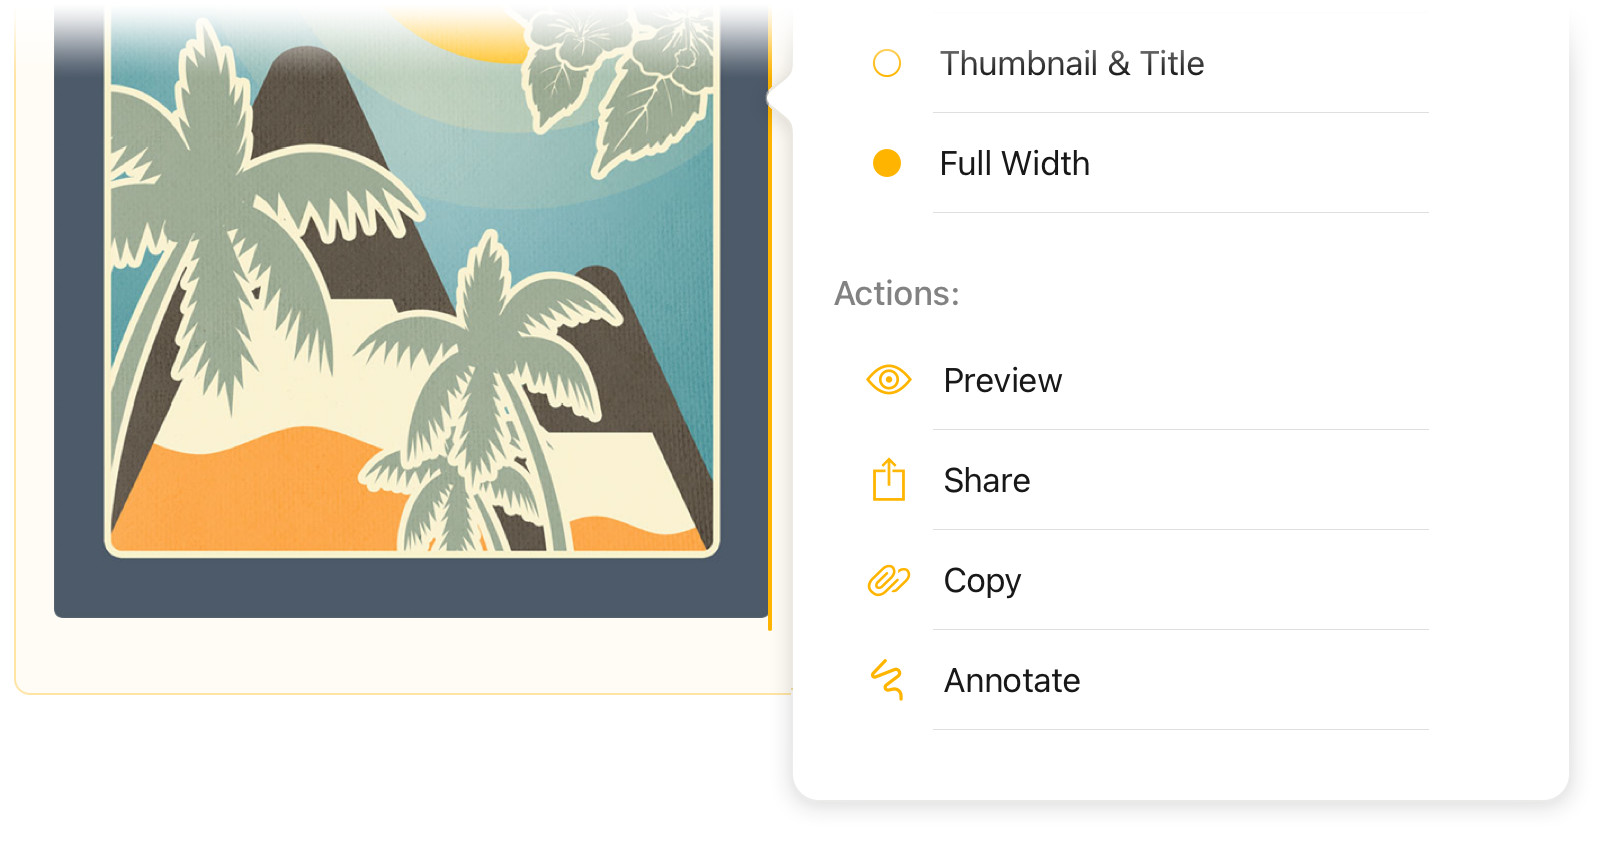
Attachment Actions
The menu includes the ability to preview with Quick Look, opening the attachment in another app, sharing the attachment to another app, exporting, copying, and deleting. Also, you can interact with the attachment just like you do with text, copying it, dragging it, and so forth.
Tip: There are some useful shortcuts on macOS for some of these actions. For example, holding in ⌘ and clicking the attachment will show the Quick Look preview immediately. Double clicking the attachment will open it in another application.
Editing Attachments
If you open the attachment through the menu, or by double-clicking it on the Mac, Agenda will automatically make a temporary copy of the attachment and open that in the default application for that type of file. You can also use the Open with… command if you want to have it open in a different app.
If you edit the file in an external application and save it, Agenda will automatically update the attachment with the updated file, great for working with spreadsheets for example.
Annotating images
On iOS and iPadOS you can annotate any image attached to your note, for example to add remarks, or highlight important aspects. This works the same way as editing a drawing:
- Tap-and-hold the image attachment until the menu with options shows
- Choose Annotate and the image will be opened in a canvas on which you can draw
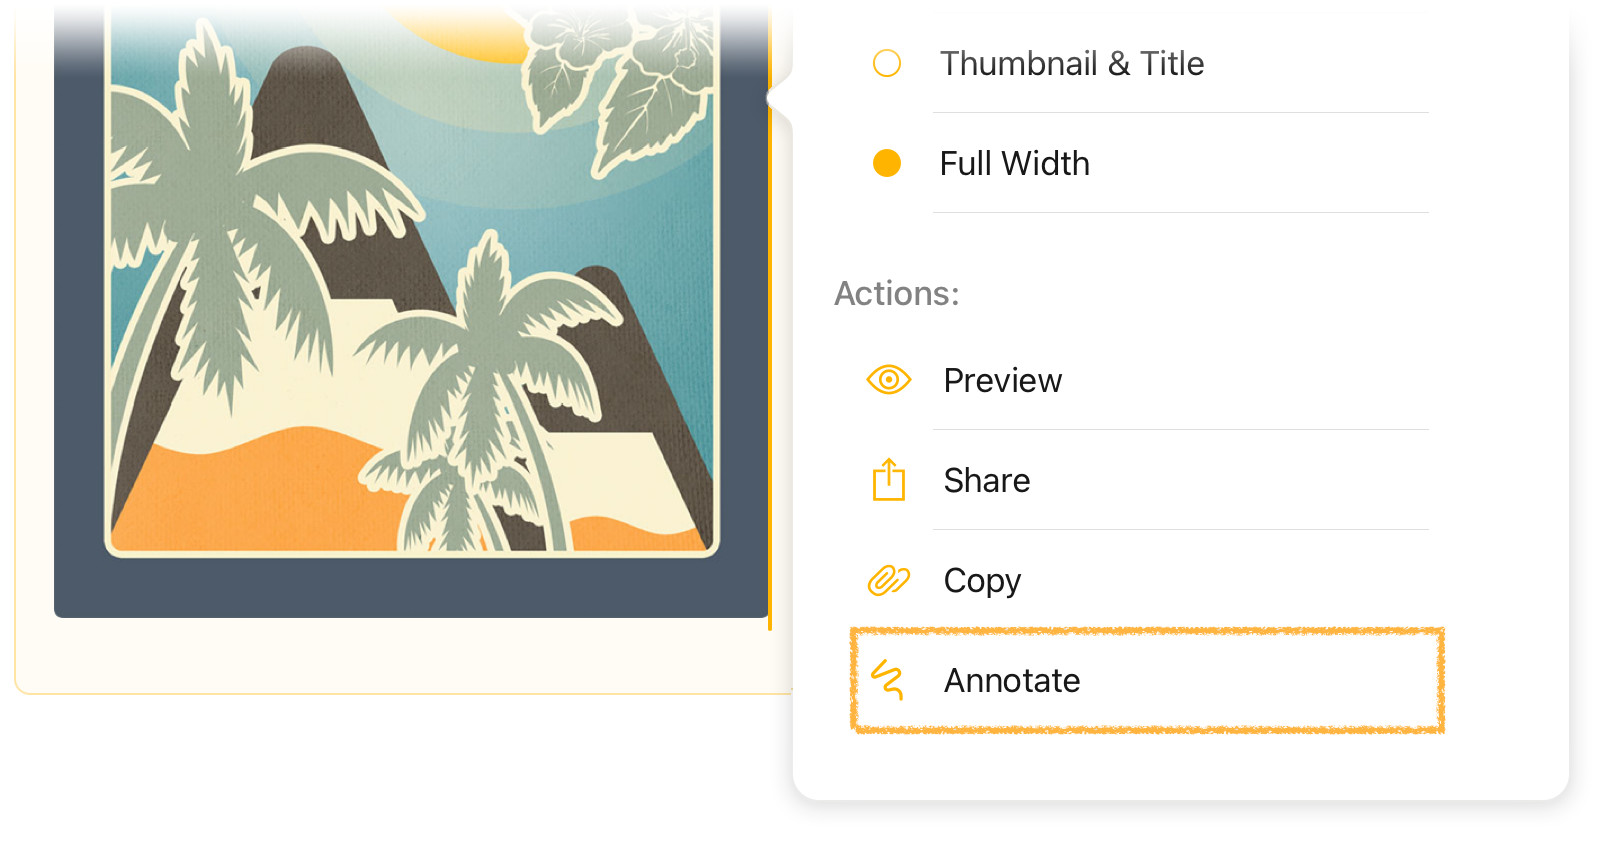
Once you’re done the annotation will be shown on top of the image. You can subsequently edit or add to your annotations by repeating the steps above.
Premium: Annotating images is a premium feature, and requires the premium feature upgrade be purchased.