Agenda allows you to quickly search for notes, and filter the visible notes to match the current search. What’s more, you can restrict searches to a range of dates, and also to notes currently flagged as on the agenda.
Searching for Notes
To search for a given term anywhere in Agenda…
- Click the magnifying glass button to start the search.
- Type the term you want to search for in the search field.
- Click on any result in the list to jump to that note.
If you enter multiple terms, only notes containing all will match and be shown. You can change this behavior by clicking on the search terms and setting the “Filter Mode”.
Searching Dates and Date Ranges
To restrict search results to notes in a given range of dates…
- Click the magnifying glass button to start the search.
- Enter any search terms desired.
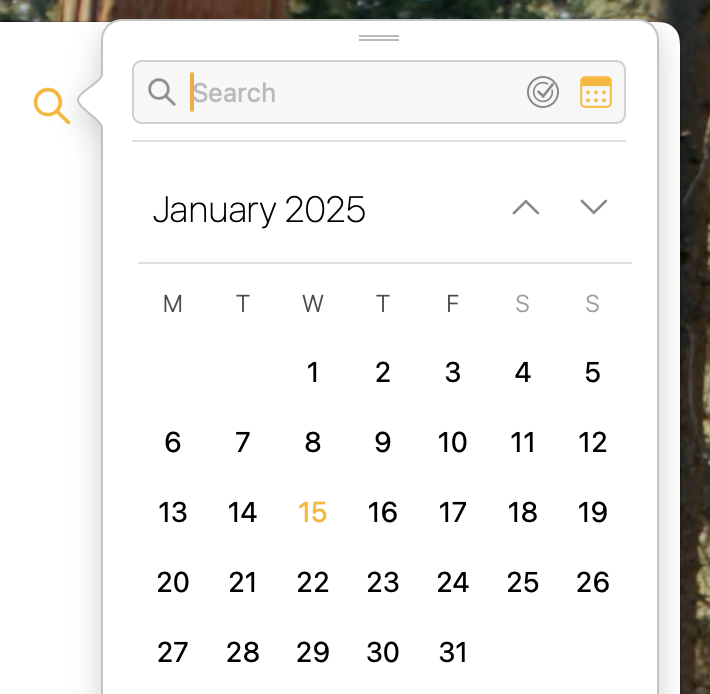
- Click on the calendar button to the right end of the search field:
- Click a date in the popover.
- If you want a range of dates, either…
- Click/tap and drag across the dates, or…
- Click the start date, and then click the end date while holding the Shift key on macOS.
Tip: Dates that have a note associated with them will have a yellow dot, making it easy to zoom in on the dates you’re likely looking for.
Search for Status
Notes with the yellow dot button selected are the ones you are currently working with. They are on the agenda.
To include only notes that are On the Agenda in the search results…
- Search as above.
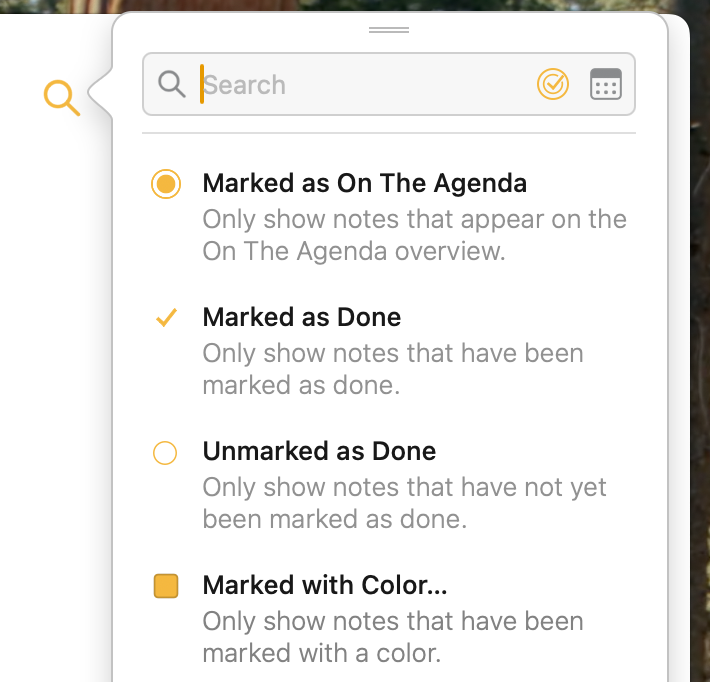
- Click the round button to the right end of the search field, and choose Marked as On the Agenda as the search filter.
Similarly you can also filter on other statuses, such as whether a note has been marked as done, and the color it has been assigned.
Tip: Command-clicking the round button instantly activates the Marked as On the Agenda filter, while alt/option clicking the button activates the Marked as Done filter without a need to go through the menu.
Filtering Visible Notes
When you search, you get a list of results in a list. If, instead, you want to filter the visible list of notes using the search terms, just click the “Filter Notes” button at the bottom of the search results list.
When you do that, you will see an active filter button appear in-place of the search icon (magnifying glass). This filter will apply to any notes that appear, until you turn it off by clicking or tapping.
Filtering Text
You can use the search field to filter the list of visible notes. Only notes that match the search will be included.
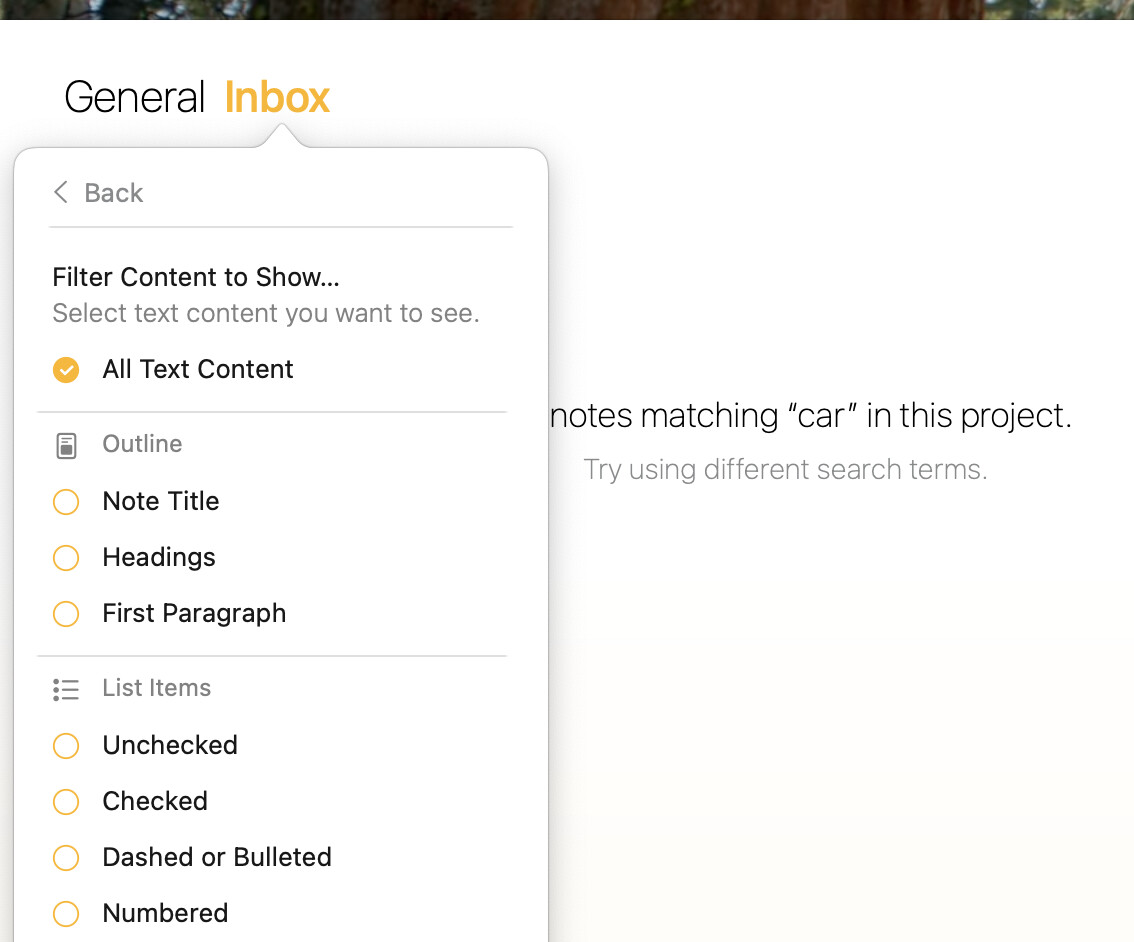
Sometimes, you want to filter the contents of each note. For example, perhaps you only wish to see incomplete todos from the notes, and hide the rest.
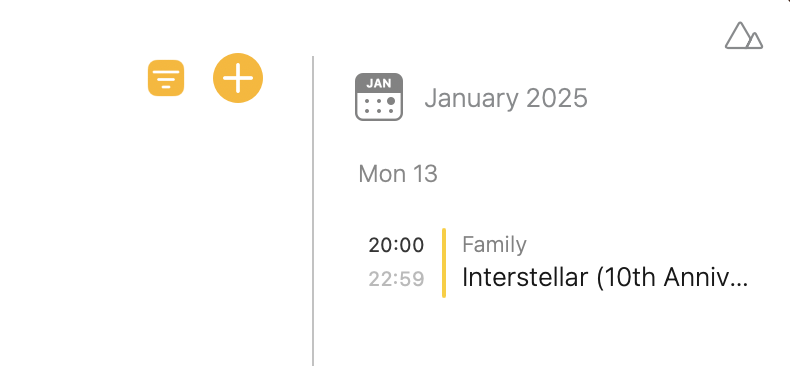
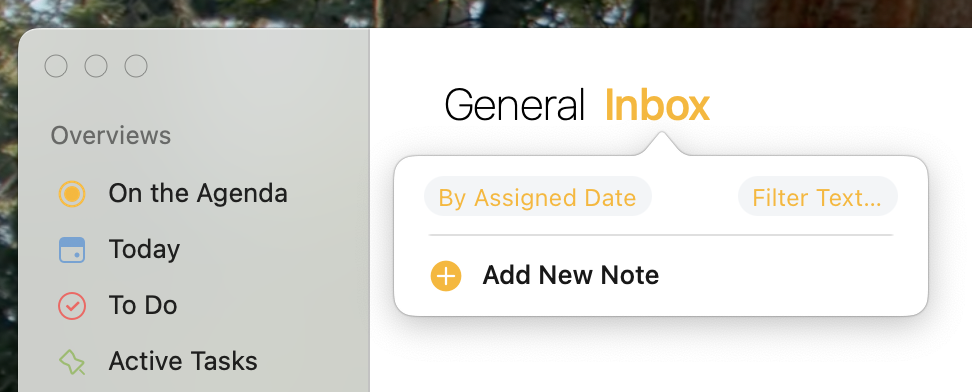
Note content filtering is available in Agenda when you tap on the project title at the top of the notes list, and use the button top-right.
Pressing that button reveals a multitude of different content types. Choose the content types you wish to include. All other types will remain hidden.
If you have a single project or overview selected, the text filter will be stored with it, and even sync over to other devices.
Searching for Tags and People
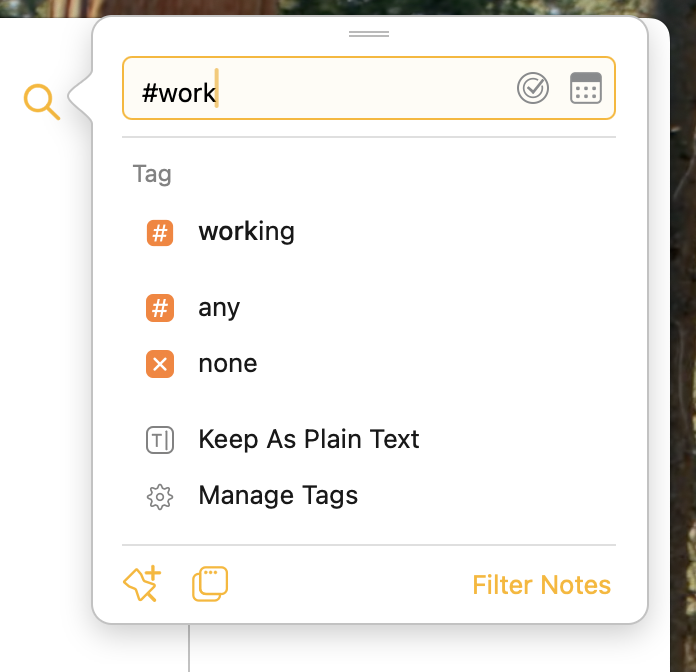
Terms entered in the search field will match any note text, including tags and people tags. If you want to, you can restrict the search to only match tags or people, rather than all text.
To search for a tag, type a # symbol followed by the tag, or use the autocompletion list that appears to select the tag.
For a person, type @ instead.
You can also use actions to search for tags and people. Eg. instead of typing #, you can type
\tag.
Autocompletion in Search
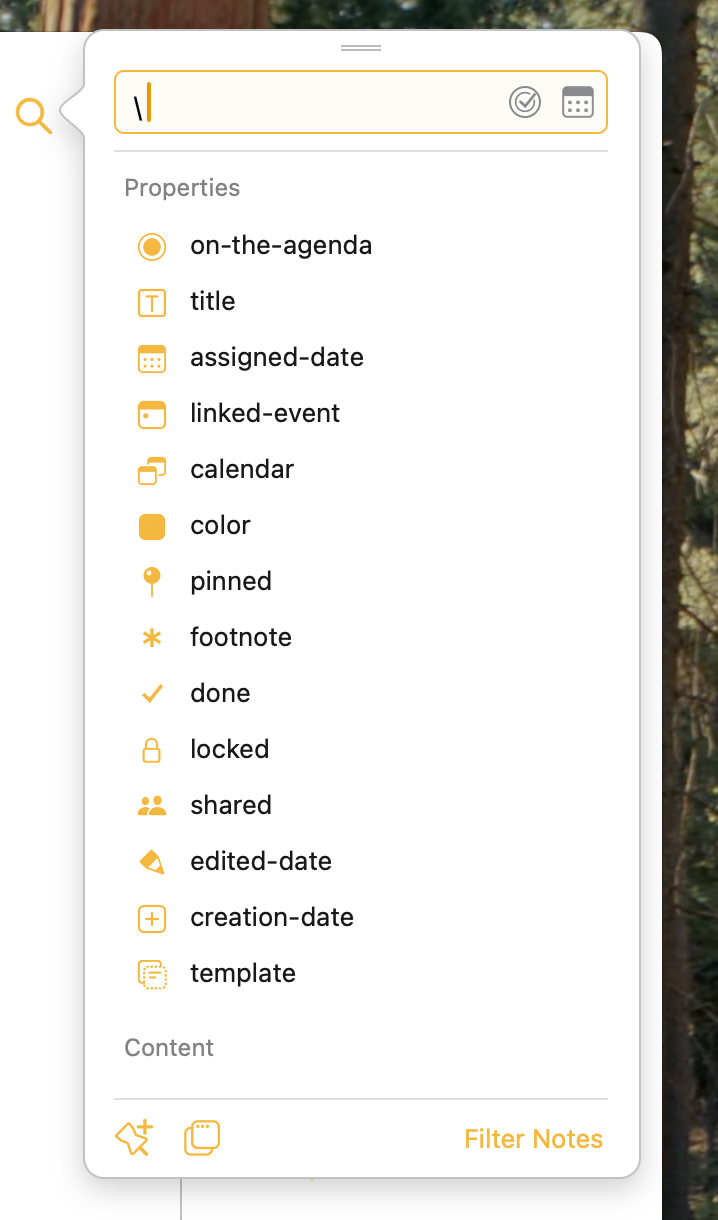
We have seen that you can use \tag to search for tags. The search panel will show a list of options for you to choose from.
This works for many other attributes as well. If you just type \, the autocompletion list will reveal countless properties you can search for.
Creating a Smart Overview from a Search
Whenever you perform a search across all projects, you have the option to convert it into a smart overview that will be continually kept up-to-date and become an entry in the source list.
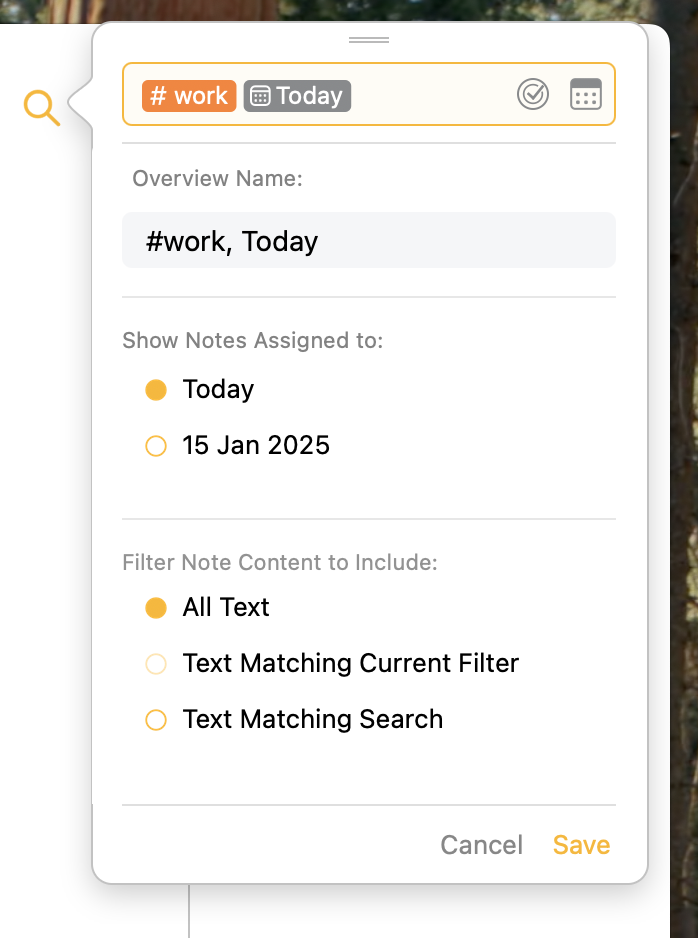
For example, if you search for notes that include the tag #work, and have today’s date, you can save it, perhaps giving it a name like “Work Stuff for Today”. This overview will automatically update as you edit and add notes. You can open the overview to see any notes that contain the #work tag, and include a date range that includes today.
To save a search…
- Perform a search.
- Click or tap the button bottom-left in the search panel.
- Enter a name for the new overview in the sidebar.
- If your search includes a date, you also need to make a selection at the bottom of the popover. This indicates to Agenda how you want your date to be interpreted. (See next section.)
- You can also choose a text filtering option. By default it will show all text, but you can choose to apply the current filter, or generate a filter based on the search to only show relevant paragraphs.
Premium: Saving of searches is a premium feature and requires you to have purchased the premium feature upgrade.
Relative Dates vs Absolute Dates
You may wonder how dates are handled in saved searches. When you save the search, you get the option to have dates interpreted as relative to the current date (e.g. tomorrow), or an absolute date (e.g. 22nd January, 2018).
A relative date moves over time, as the current date changes. Tomorrow will always be the day after the current date.
An absolute date does not change. It is fixed in time, regardless of what date the search is performed.
Open Quickly
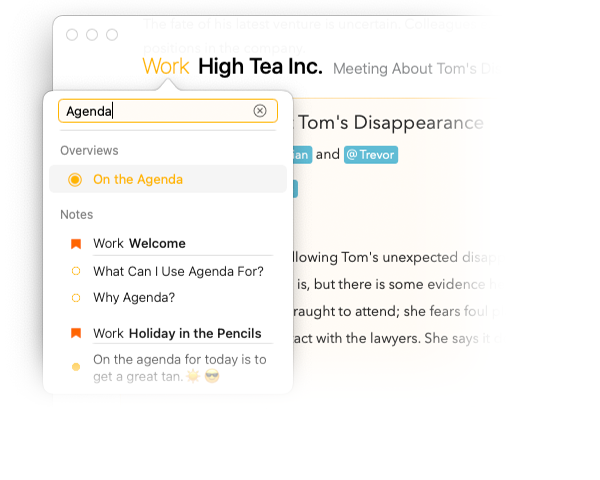
To quickly find any note, project, or overview in your Agenda library, you can use the Open Quickly feature.
On macOS, or if you have a hardware keyboard on iPadOS:
- type ⎇ + [spacebar] or ⇧⌘-O to reveal this popover:
You can also simply tap on the category name at the top of the note list (“Work” in the screenshot above).
- start typing to filter down the list of results and use the arrow keys and/or hit enter to select the note, project or overview you wish to jump to.
Tip: See how the quickly open feature works in practice in this video on our YouTube channel.
Premium: The Open Quickly feature is a premium feature only available upon purchase.
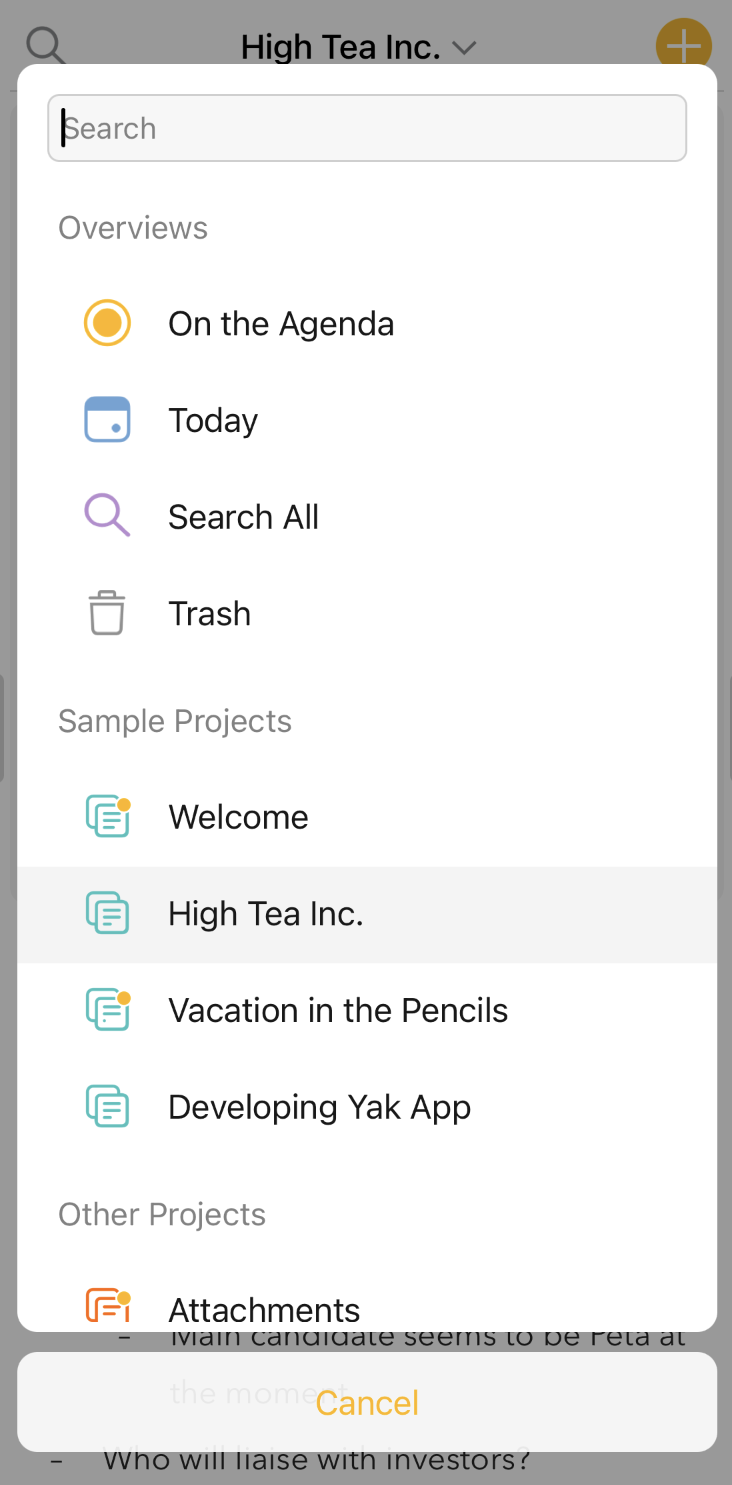
On iOS:
- tap and hold the project title at the top of the screen and it will show the quickly open menu:
- start typing to filter down the list of results and tap or hit enter to select the note, project or overview you wish to jump to.
Tip: If you pull down any menu in Agenda for iOS and iPadOS you can reveal a search field to filter the menu. If you continue to pull down the menu the search field will automatically gain focus and the keyboard is shown, saving you an extra tap. This works in any menu.
Besides filtering on title, the Open Quickly panel also supports the following queries:
-
date searches like
today,yesterday,last week,21 march, etc -
recent: notes edited in the last 48hrs -
now: notes going on now -
nextorupcoming: notes coming up in the next 48hrs\ -
earlier: notes from earlier today

