An aspect of Agenda that distinguishes it from other note taking apps is a grab bag of powerful navigational features. Your projects are non-linear, and you need to be able to jump between them, as well as through time, to reach important information, even while you are writing new notes. This section introduces the tools Agenda gives you to navigate efficiently through your projects.
Sidebar
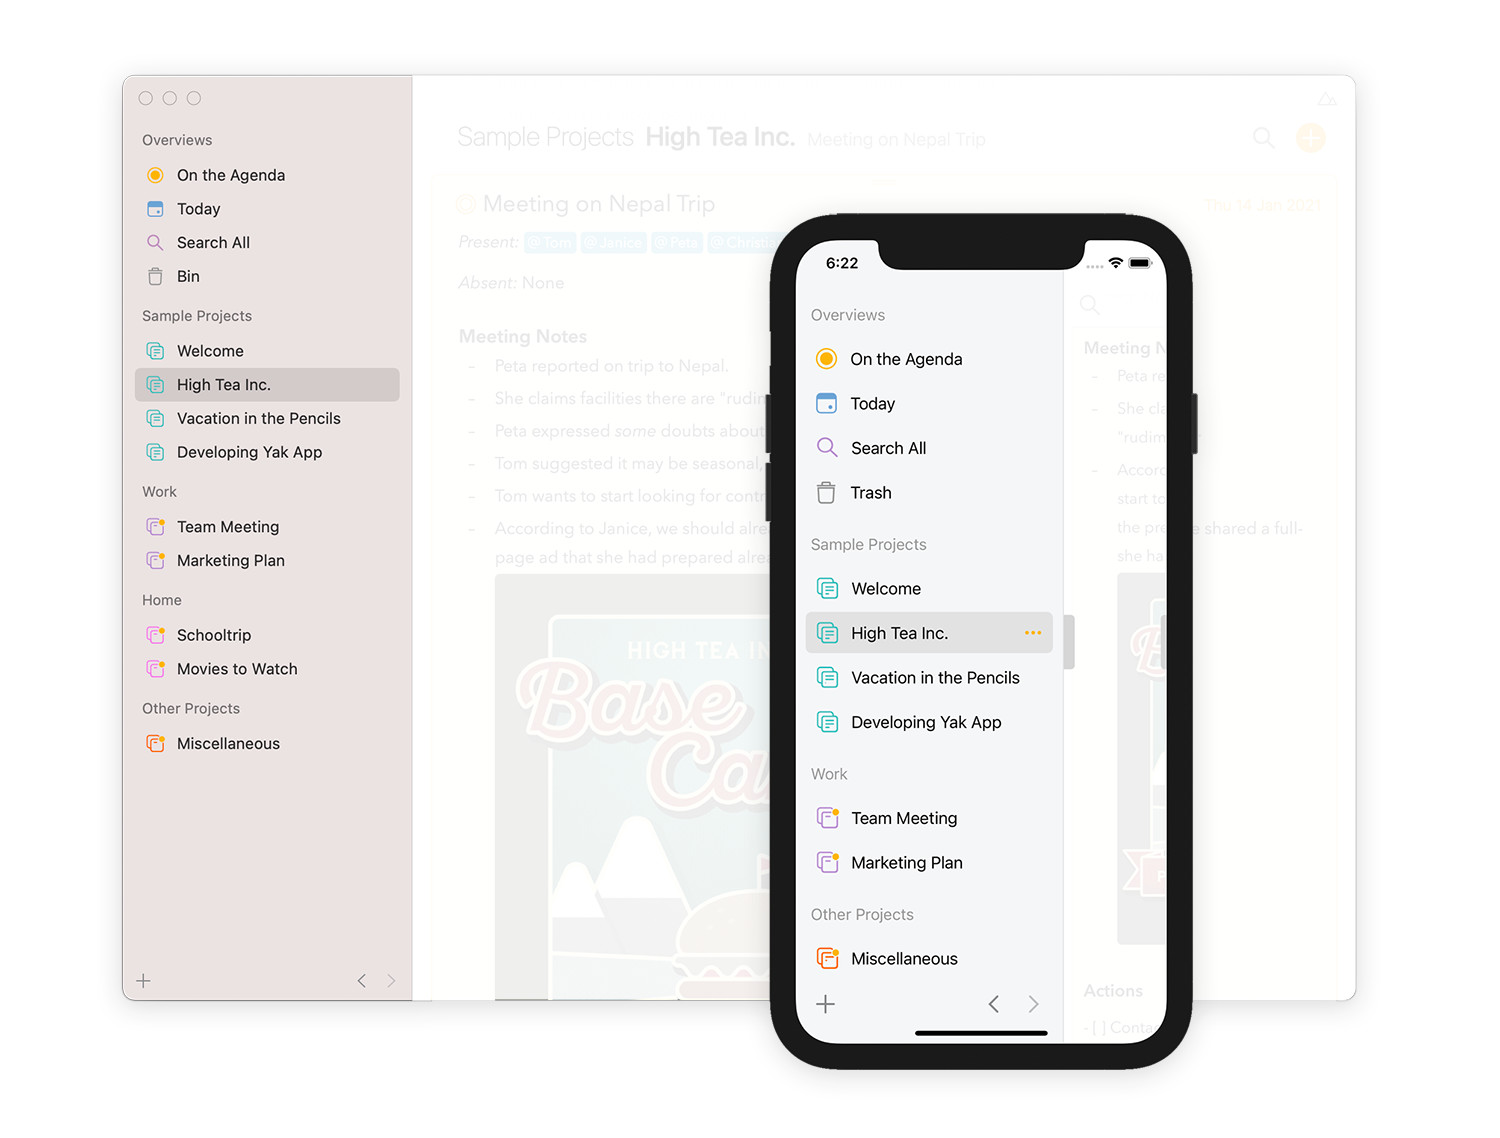
The sidebar on the left acts as a source list for the whole app. It contains your categories, projects, and overviews. This is often your first stop when navigating Agenda.
Projects
To show a particular note in a given project…
- Select the project in the sidebar on the left. Note that on iOS you might need to swipe the sidebar in from the left edge of the screen to reveal it first.
- Scroll down to the note.
If you have added dates to your notes, by default, scrolling down will be going back in time. You can change the order by clicking the project title at the top.
Note: Agenda keeps track of your position in the project, so that the same notes appear next time you select the project, even after quitting.
Overviews
Overviews are special collections of notes that act like automatically updating searches. Some are built-in, like the On the Agenda overview, and some are created from saved searches.
To quickly access the notes you are actively working on…
- Select the On the Agenda overview.
- Select or deselect the yellow dot button top-left on each note to indicate which are currently on your agenda.
To access notes that fall today, or include today in a date range…
- Select the Today overview.
- Scroll to locate the relevant note.
Learn more about organising your projects in Organizing Projects and about creating smart overviews in Searching and Filtering.
Jump Menu
To quickly jump to a note in a project…
- Click/tap the project title at the top of the list of notes.
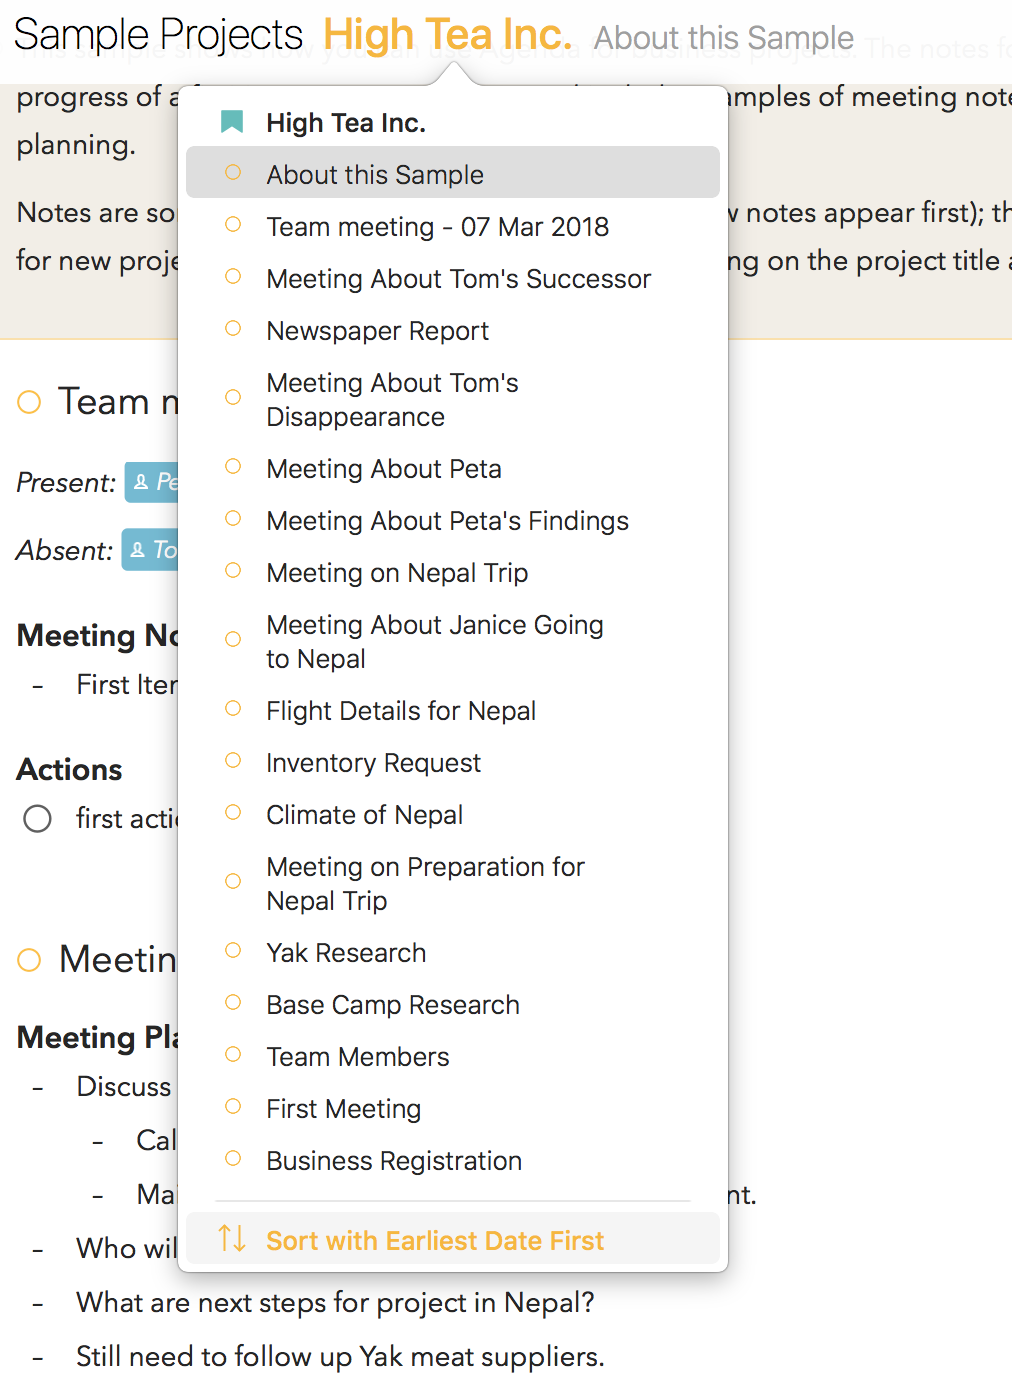
- In the jump menu that appears, choose the note.
This is particularly useful for very long projects, with many notes.
Tip: The jump menu also allows you to flip the sort order of your notes to oldest-first instead of newest-first, and vice versa.
Tip: You can navigate the menu using the arrow keys and hit enter to select the option you want. You can also start typing (on macOS, or if you have a hardware keyboard on iPadOS, or pull down the menu on iOS and iPadOS to reveal a search field), to filter the menu based on the entered characters that appearing the title.
Open Quickly
To quickly find any note, project, or overview in your Agenda library, you can use the Open Quickly feature.
On macOS, or if you have a hardware keyboard on iPadOS:
- type ⎇ + [spacebar] or ⇧⌘-O to reveal this popover:
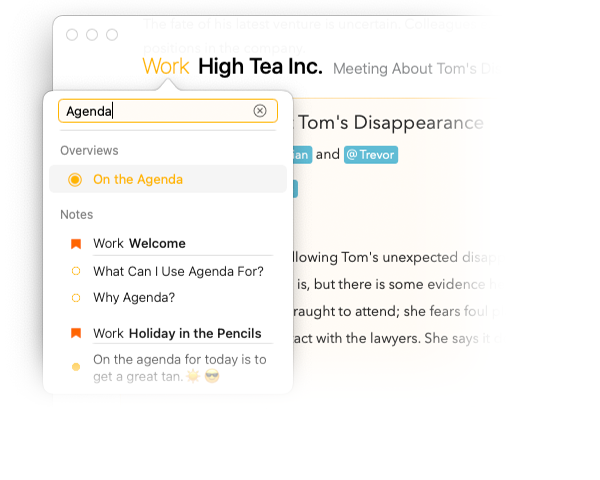
You can also simply tap on the category name at the top of the note list (“Work” in the screenshot above).
- start typing to filter down the list of results and use the arrow keys and/or hit enter to select the note, project or overview you wish to jump to.
Tip: See how the quickly open feature works in practice in this video on our YouTube channel.
Premium: The Open Quickly feature is a premium feature only available upon purchase.
On iOS:
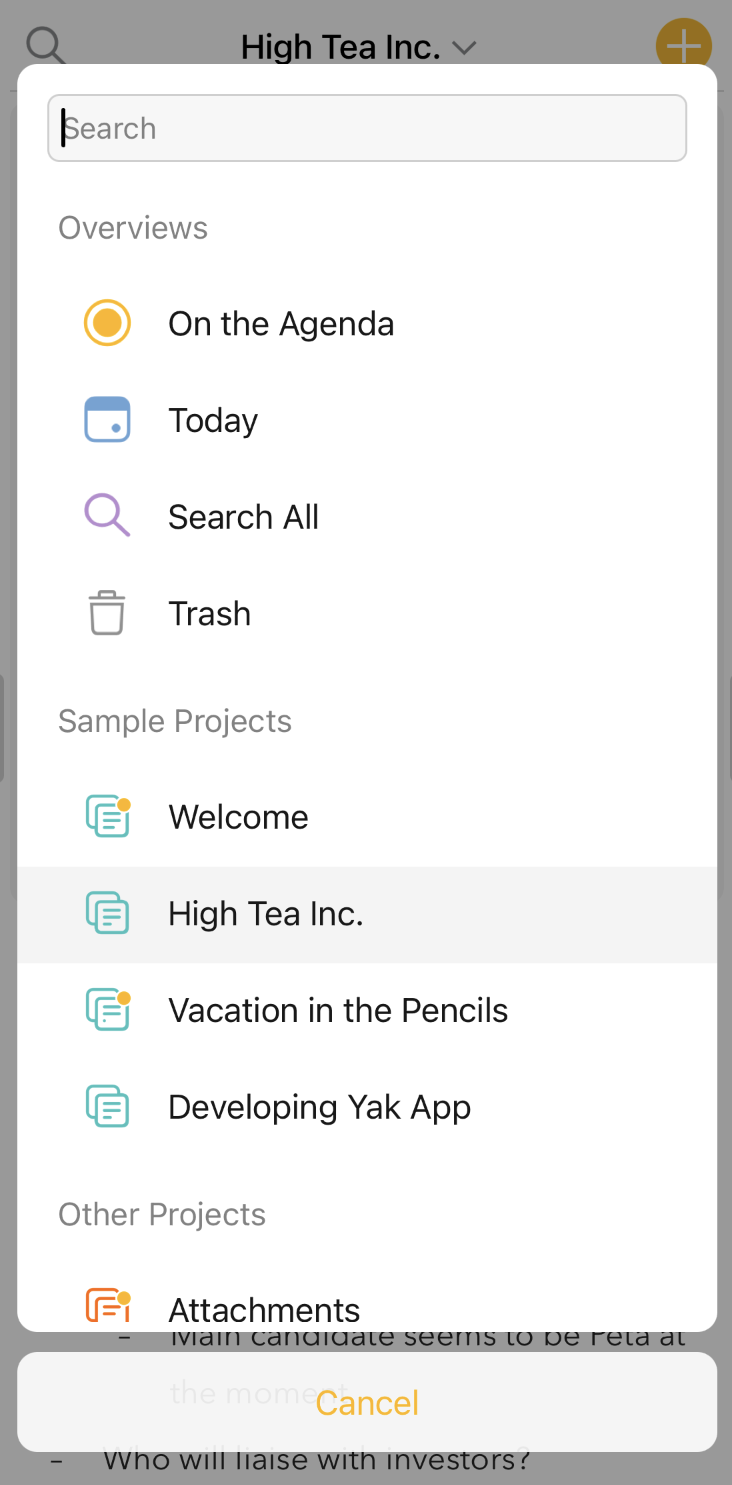
- tap and hold the project title at the top of the screen and it will show the quickly open menu:
- start typing to filter down the list of results and tap or hit enter to select the note, project or overview you wish to jump to.
Tip: If you pull down any menu in Agenda for iOS and iPadOS you can reveal a search field to filter the menu. If you continue to pull down the menu the search field will automatically gain focus and the keyboard is shown, saving you an extra tap. This works in any menu.
Besides filtering on title, the Open Quickly panel also supports the following queries:
-
date searches like
today,yesterday,last week,21 march, etc -
recent: notes edited in the last 48hrs -
now: notes going on now -
nextorupcoming: notes coming up in the next 48hrs\ -
earlier: notes from earlier today
Related Info Panel
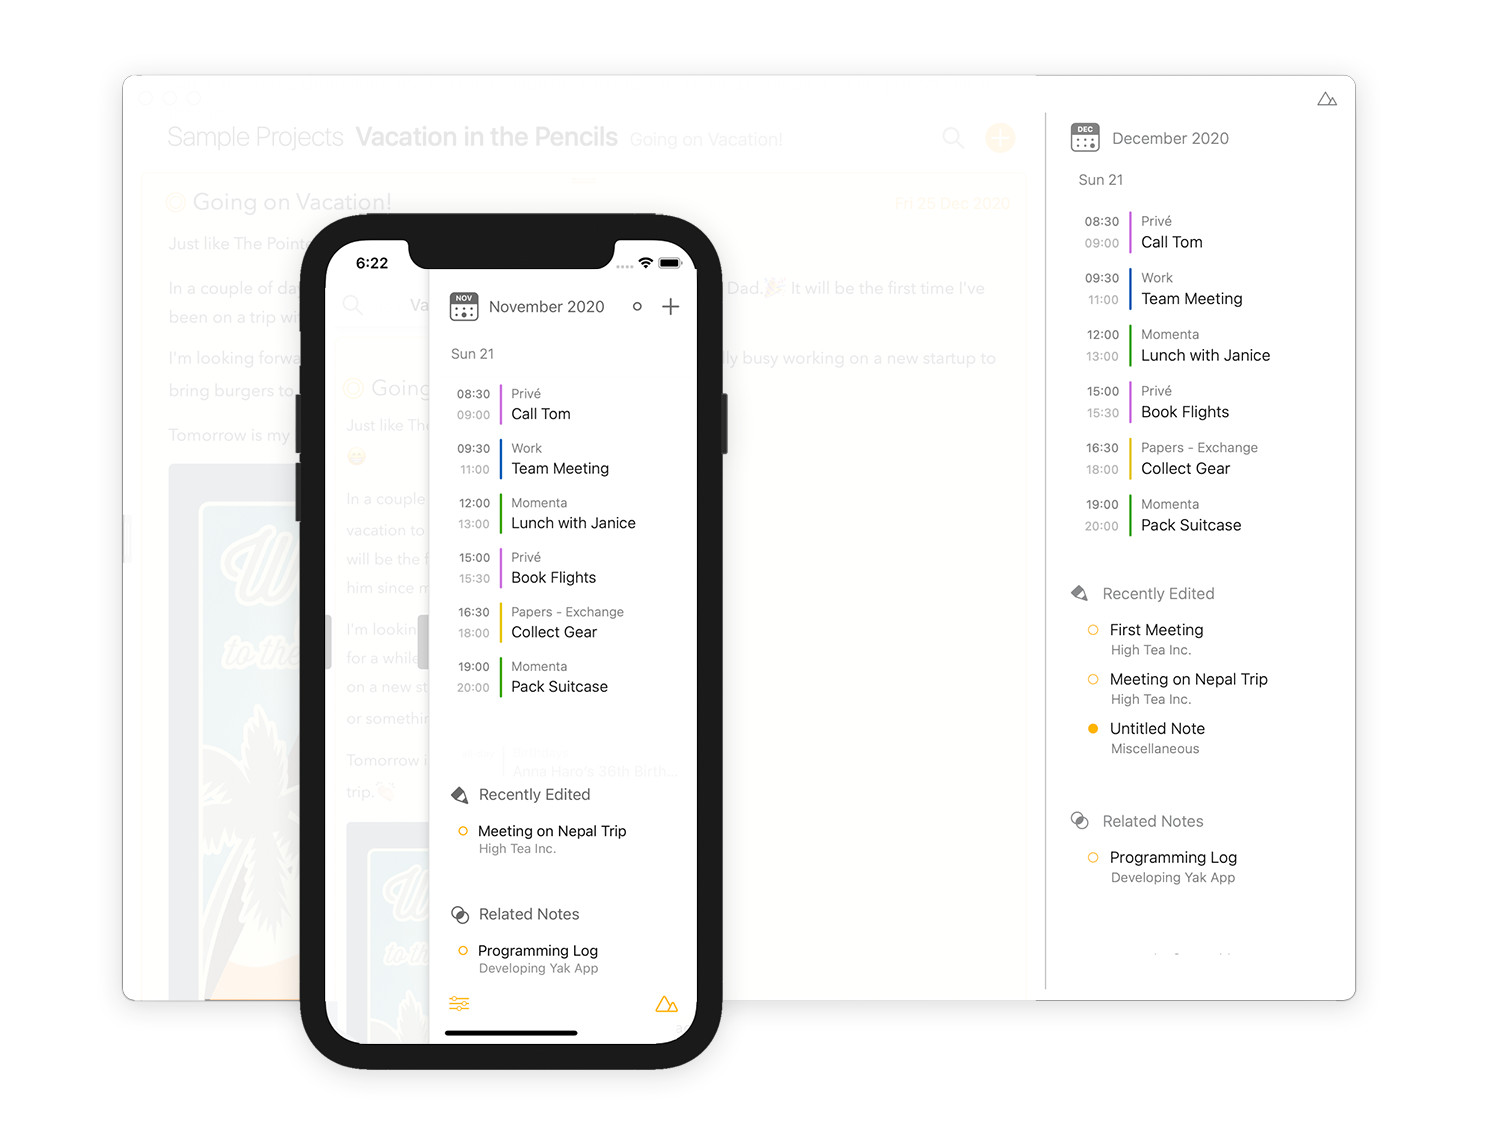
Just like the Projects Sidebar on the left, Agenda has a second sidebar on the right, called the Related panel. It displays information related to the notes you select in the notes list.
To access the Related panel…
On macOS:
You can reveal or hide the related panel using the View menu and choosing Show/Hide Related Panel , drag the sidebar splitter or click the little grey handle attached to the panel. If you can’t see the handle, move your mouse over the right edge of the window until it appears. You can also use a two-finger swipe to the left or right to show and hide the related panel respectively.
On iOS and iPadOS:
You can swipe from and to the right edge of the screen to make the related panel become visible or hide it respectively. Like on the Mac you can also tap the small grey handle attached to the sidebar to toggle its visibility, and on an iPad with hardware keyboard you can use a two-finger swipe as well.
Next select a note, and watch the info adapt to show info relevant to the new selection.
Timeline
To jump to a note that has been assigned to a day, linked to a calendar event, or contains a reminder shown in the Timeline…
-
Click/tap the day, event, or reminder. A menu with options will show, with the ability to jump to the note.
-
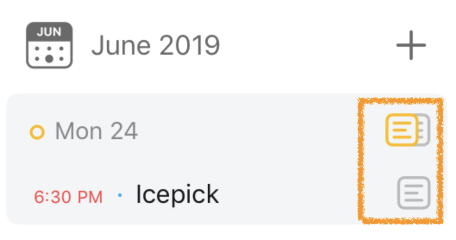
An even faster shortcut is to click or tap the small note icon in the timeline on the right, it will directly select the note in the centre notes list.
If multiple notes are linked to the same day or event, a double-note icon is shown and clicking/tapping it will show a menu to pick the note you would like to jump to.
Learn more about how to use the Timeline in Dates, Events, and Reminders
Recently Edited
To visit a note that was recently edited…
- Open the Related Info panel, if needed (as described above).
- Select one of the notes in the Recently Edited list.
- Scroll down to see a longer list.
Related Notes
To go to a note related to the current selection…
- Open the Related Info panel, if needed (as described above).
- Select one of the notes in the Related Notes list.
- Scroll down to see a longer list.
This list is based on information such as tags and people. Learn more about how to use these in Tags, People, Emoji's, Text Actions and Links
Collapsing Notes
Although not a purely navigational feature, collapsing notes can help you find things more easily by reducing the space taken by notes that are not currently relevant.
To collapse a note…
- Double click/tap at the top of the note in the title bar or click/tap the orange dot next to the title and choose the collapse option from the menu.
To expand a collapsed note…
- Double click/tap in the title bar or click/tap the orange dot next to the title and choose the expand option from the menu.
On iOS you can also use the pinch gesture to collapse and uncollapse notes. While on Mac (and iPad with external keyboard) you can use the menu commands and corresponding keyboard shortcuts.
History
Agenda includes a feature more commonly found in web browsers: a history. You can step back through your navigation actions, and then forward again. This is very useful if you want to quickly find information in another project or in an old note, and then jump back to where you were editing.
To go back in your navigation history…
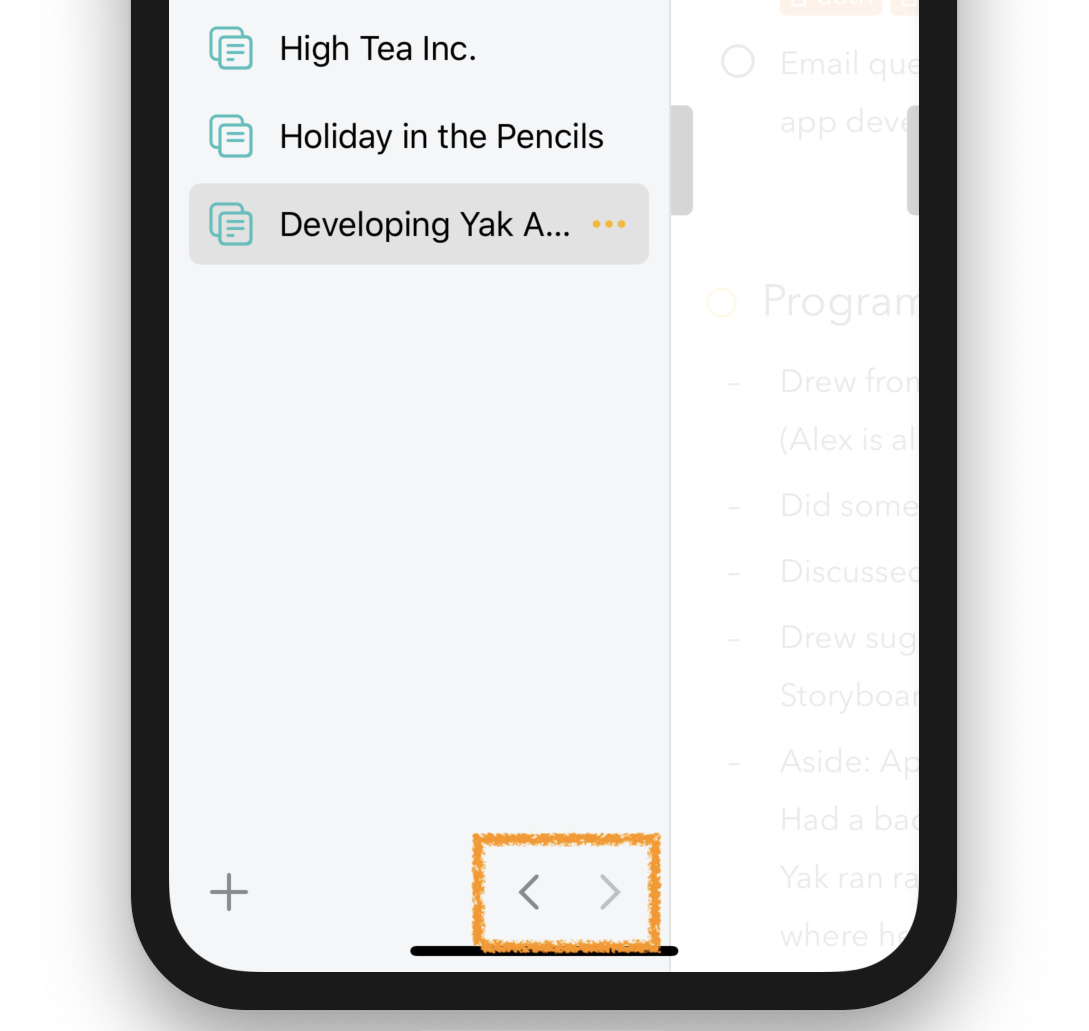
- Click the small back arrow at the bottom of the left sidebar.
- Use the View > Back menu item.
If you have gone back in the history, you can move forward again.
- Click the small forward arrow at the bottom of the sidebar.
- Use the View > Forward menu item.
On both macOS and when using an iPad with hardware keyboard you can also use the ⌃⌘ ← / → keyboard shortcuts.
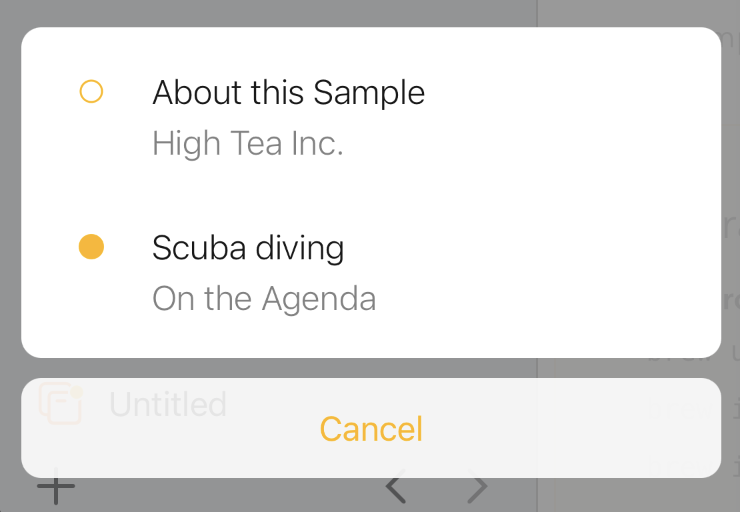
Tip: If you click/tap and hold the arrow buttons a popover will show with the entire history, allowing you to go back or forward in time in bigger steps:
Separate Windows
Forthcoming
Keyboard Navigation
Agenda supports a large number of keyboard actions and keyboard shortcuts to help you navigate quickly between notes and between the various parts of the screen. For example you can jump between the sidebar and the notes list using the tab and left/right arrow keys. And between selected sidebar items and selected notes using the up and down arrow keys.
Learn more about the support keyboard actions and shortcuts in the Keyboard Shortcuts Overview
See it in Action
Sometimes a picture tells more than a thousand words. Want to see all this in action? Check out the video below:
