Agenda apps on all platforms include three main panels:
- the sidebar left, which acts as a list of your projects;
- the notes list in the center; and
- the related info panel on the right.
You can choose to close the left and right panels by dragging the split, or tapping/clicking the handle halfway up.
On the iPhone, where the space is limited, the side panels tend to hide by default, to focus more on your notes. But you can always swipe left or right on the notes list, or from the side, to open and close the panels.
Sidebar
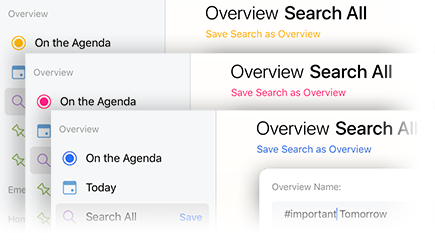
The side bar on the left acts a source list for Agenda. It includes your projects, which are grouped into categories, as well as overviews which get automatically updated, such as the Today overview, which has any note that has today’s date.
The sidebar is the main way you will want to navigate around the your notes. Usually you will select a project or overview, locate a note or add a new one, and start working.
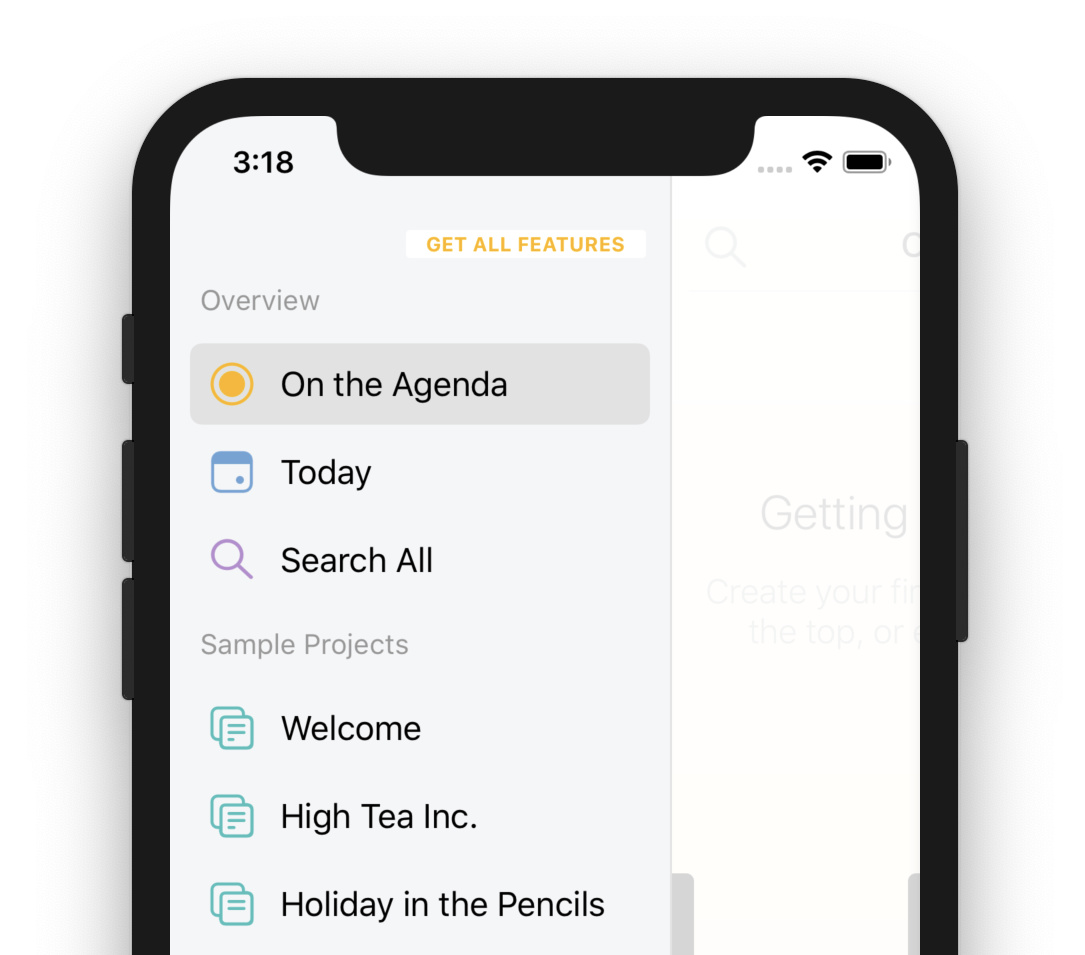
Note: on iOS the sidebar is hidden by default so Agenda can use all the space on the screen for your notes. Swipe or flick from the left edge of the screen to the middle to make it the sidebar visible. You can see it in action in this video
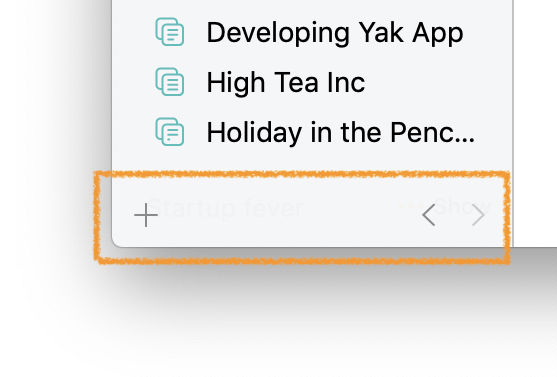
At the bottom of the sidebar is a + button to add new projects and categories, and two arrow buttons for the navigation history. Agenda tracks your navigation just like a web browser, so you can easily go back to where you were. This makes it much easier to go looking for a note, and jump back to the note you were working on, or go back a few steps to check a change you just made, and then forward again to the note you are editing.
Learn more on how to organise your projects in Organizing Projects
Notes List
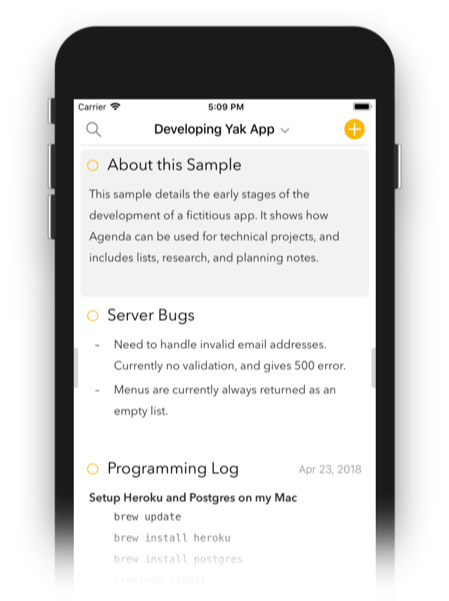
The center panel contains your notes. These are organized in a continuous timeline. Notes that have a date associated with them are organized chronologically. Notes with no date may be inserted anywhere in the list.
To add a new note, just use the + button at the top right of the list. You can search the list using the magnifying glass button.
Learn more on how to create and organise notes in Taking Notes
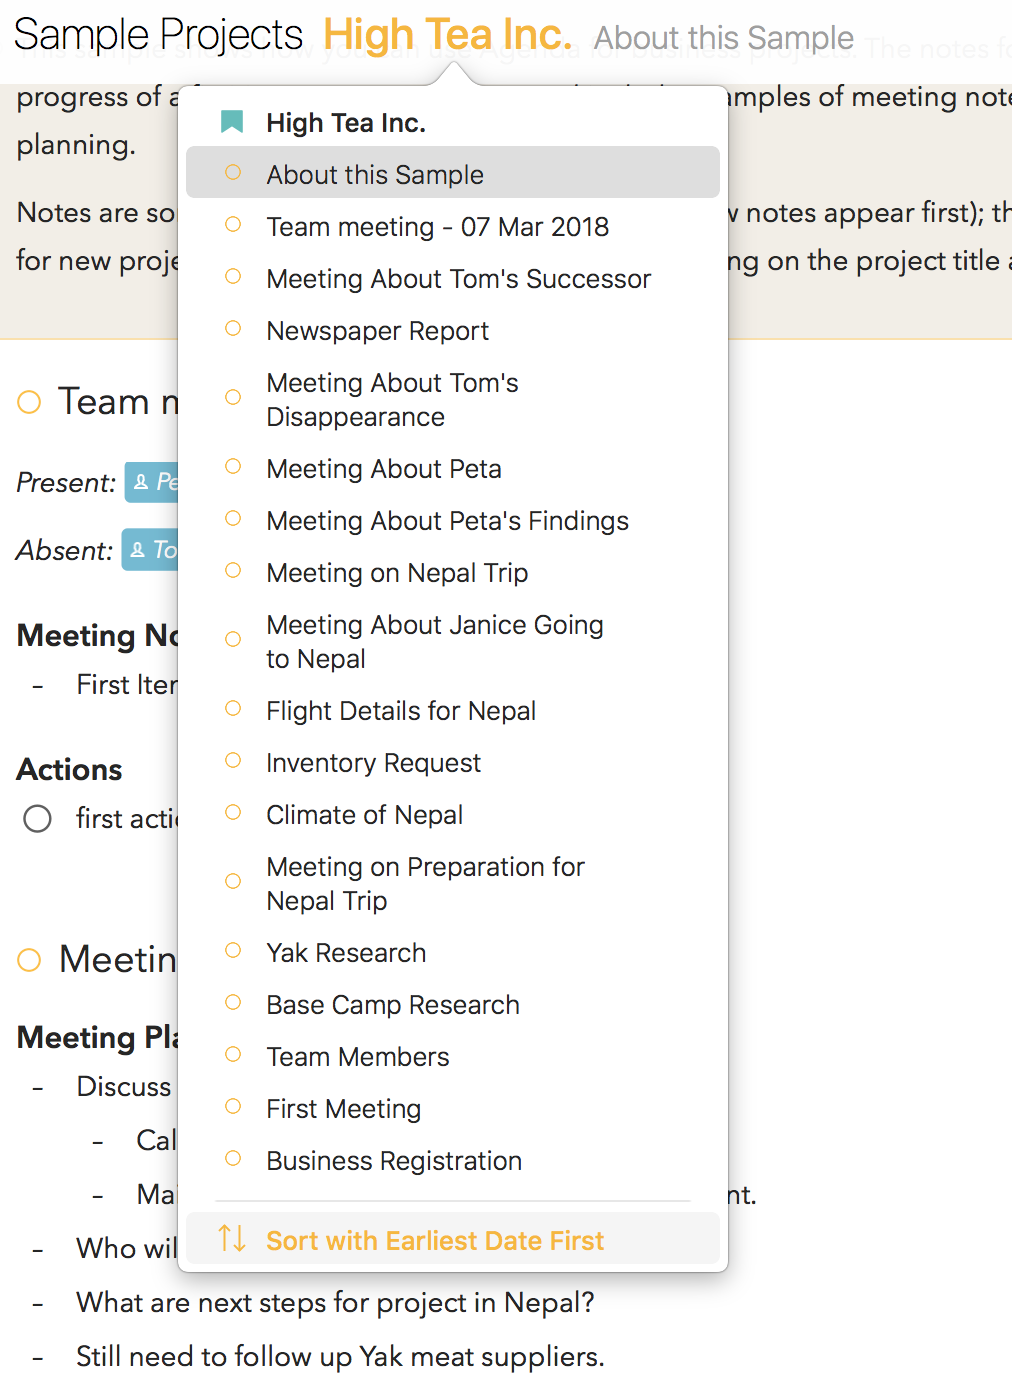
You can navigate to other projects using the sidebar, as described above, but you can also tap/click the project title at the top of the notes list. This brings up jump menu that you can just to locate and navigate to a different note in the current project, or even to other projects.
By default, notes are arranged chronologically from newest-to-oldest, but you can change this setting at the bottom of the jump menu.
Learn more on how to navigate your notes in Navigating Your Notes
Note Editing
As you would expect, a note is a place to enter text. You can apply styles (eg headings), make lists, and link to files and web sites.
The note title can be changed at the top, and the calendar button top-right an be used to add a date, or link the note to an event in the calendar.
The dot button top-left is very important: click or tap it to put a note on the agenda. This is a way to flag a note so that it appears in the On the Agenda overview in the sidebar on the left. You can use it to collate a small set of notes that you are actively working on, so that you can easily focus on them. Keep updating the on the agenda status of your notes to remain focussed and experience less distraction.
By using a tap-and-hold or click-and-hold on the orange dot button, you can choose from various other options, such as pinning the note to the top of the project timeline.

Learn more on how to edit your notes in Taking Notes
Related Info
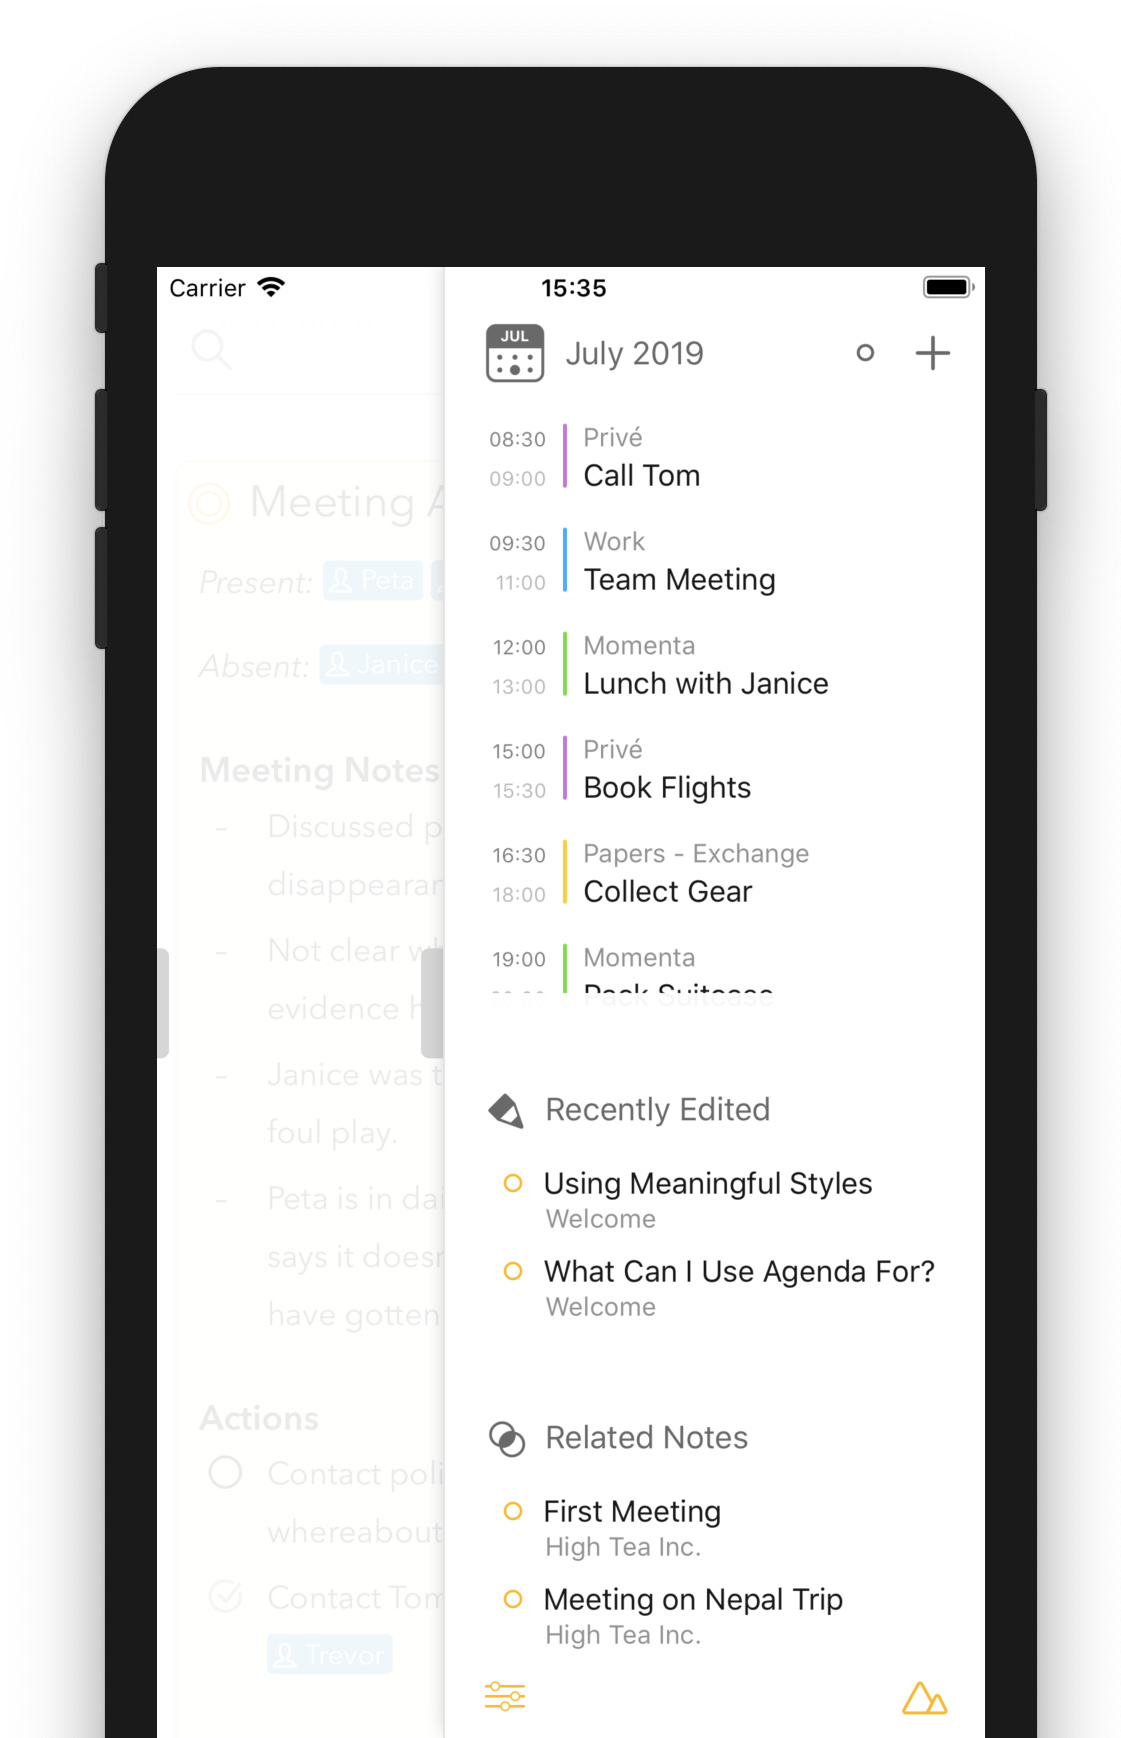
The third and final panel contains assorted information related to the selected notes.
At the top, it shows your calendar events and reminders in a single scrollable Timeline. After you have connected Agenda to your calendar, you see the events for the date of the selected note, or today if there is no selection or assigned date. Similarly, if you connect with the reminders app your reminders are shown in the list as well. Clicking/tapping on an event gives you a menu of options, including linking the selected note to the event, or creating a new note for the event. Importantly, the timeline also shows all notes that are assigned to a day, linked to an event, or that contain one or more reminders. By clicking or tapping the note icon you immediately jump to the note.
Under the calendar is a list of recently edited notes. Since the notes you are editing are likely to still be relevant, this can be a very handy way to jump back to something you recently changed, or jump between two notes you are working on.
The last list are the related notes. These are notes that are in some way related to the selected notes. They might share the same tags or people, or be nearby in the same project. The definition of what is ‘related’ is not clearly defined, but will likely change over time as Agenda develops more powerful ways to determine links between your notes.
Learn more about the Timeline in Dates, Events, and Reminders and the recent and related notes sections of the related panel in Navigating Your Notes
Preferences and Settings
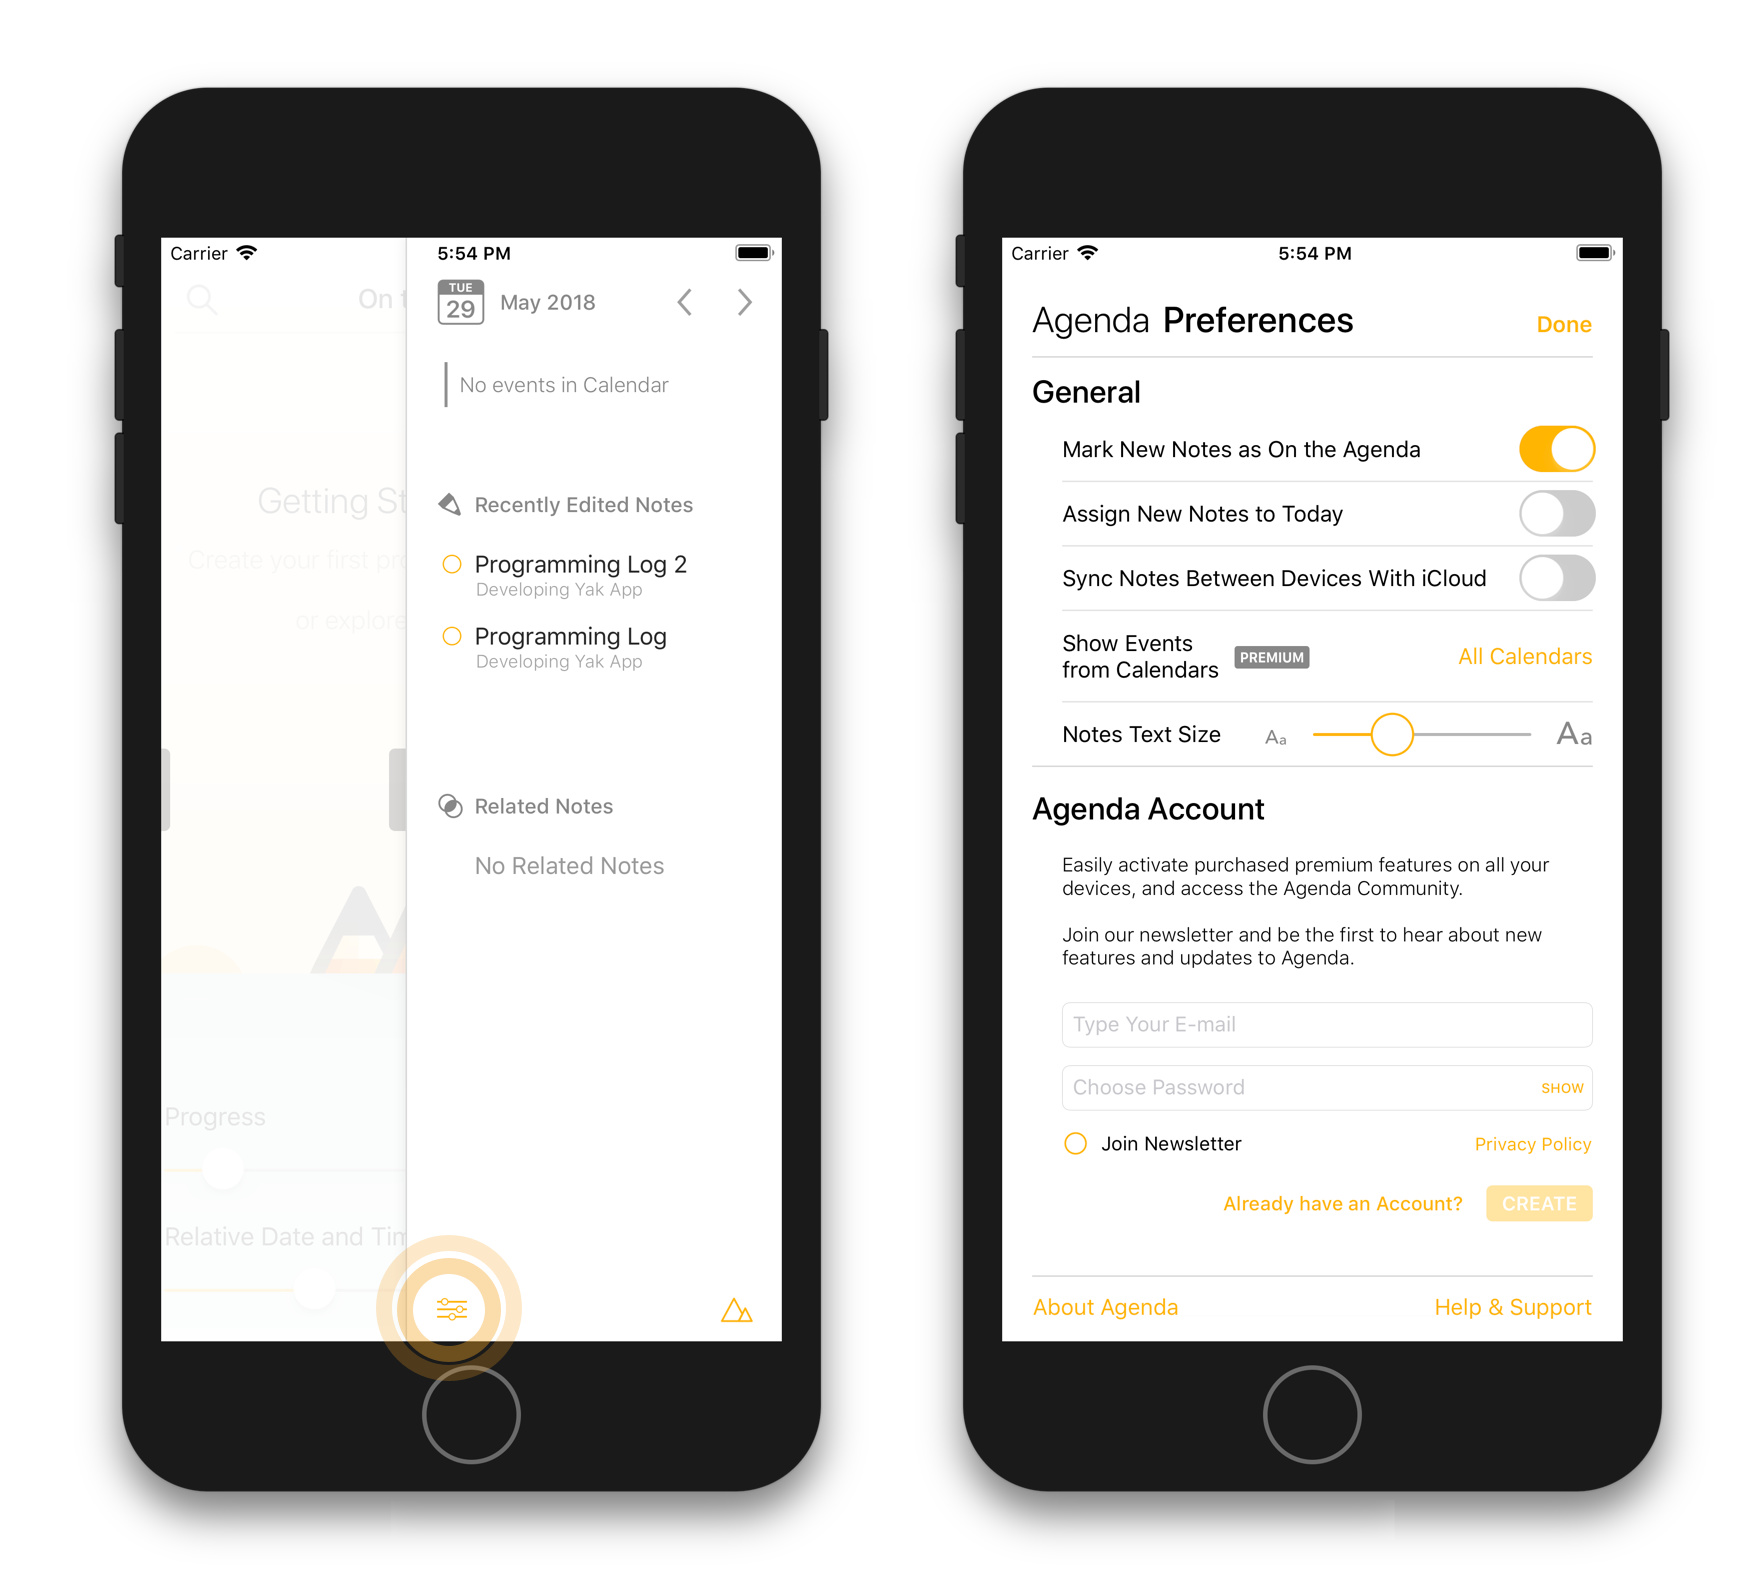
Agenda includes a few settings you can use to customize its behaviour. For example, you can have new notes assigned automatically to today’s date, or have them on the agenda. You can also change the size of the text used in Agenda.
The preferences in Agenda for macOS are located by selecting Preferences in the Agenda menu. On iOS, you can get to the settings by sliding open the Related Info panel on the right, and tapping the button bottom-left.
Look and Feel
Agenda allows you to change the look and feel of the app according to your liking. For example, by default Agenda adapts to a light and dark UI based on your system setting, but you can also override this setting in the preferences. On iOS you can also enable for Agenda to switch between the two based on the ambient light in the environment you are in.

In addition, Agenda also takes on the accent color used by your Mac or allows you to choose your accent color on iOS in the Agenda preferences.
Premium: Both Auto-Dark Mode and Custom Accent Colors are premium features, available only upon purchase.
Separate Windows
You can open notes in a separate window on macOS and iPadOS. Simply go to the bottom of the note, and tap the button on the right showing overlapping windows.
Premium: The separate windows feature is premium, available only on purchase.
Password Protection
Password protection allows you to hide nodes and projects from prying eyes. To unlock again, you need to supply a password or use either Touch ID or Face ID. On macOS, you can also use your Apple Watch.
Use the note menu to lock it. Just tap the round button top-right on the note, and choose the lock option. To unlock, you can double tap the top of the note, or click/tap the lock icon top-right on the note.
To lock a project, open the project menu which is accessible via the three dots button that appears when the project is selected in the sidebar.
You can also put a lock on the whole of Agenda. This stops any content from being displayed until you supply the authentication. You can set the password in the Agenda Settings, in the General tab.
Note that notes and projects do not get extra encryption. If someone has access to your device, they can still locate the information on disk and read it. The password feature is simply to hide information until you want to see it.
Premium: Locking of notes, projects and the Agenda app require a purchase.
Agenda Community
Apart from the fact that Agenda is a unique and powerful note taking app, it also has another innovative feature — its community. Agenda has a community forum built right into the app, and you can partake by creating an Agenda Account. This is a valuable resource to get help, but also to share with out customers how you are using Agenda, and to swap tips.
To open the Agenda Community, tap or click the island button top-right in the window of the macOS app, or at the bottom-left of the related panel on iOS.
Tip: You can use any web browser to visit the Agenda community using https://agenda.community
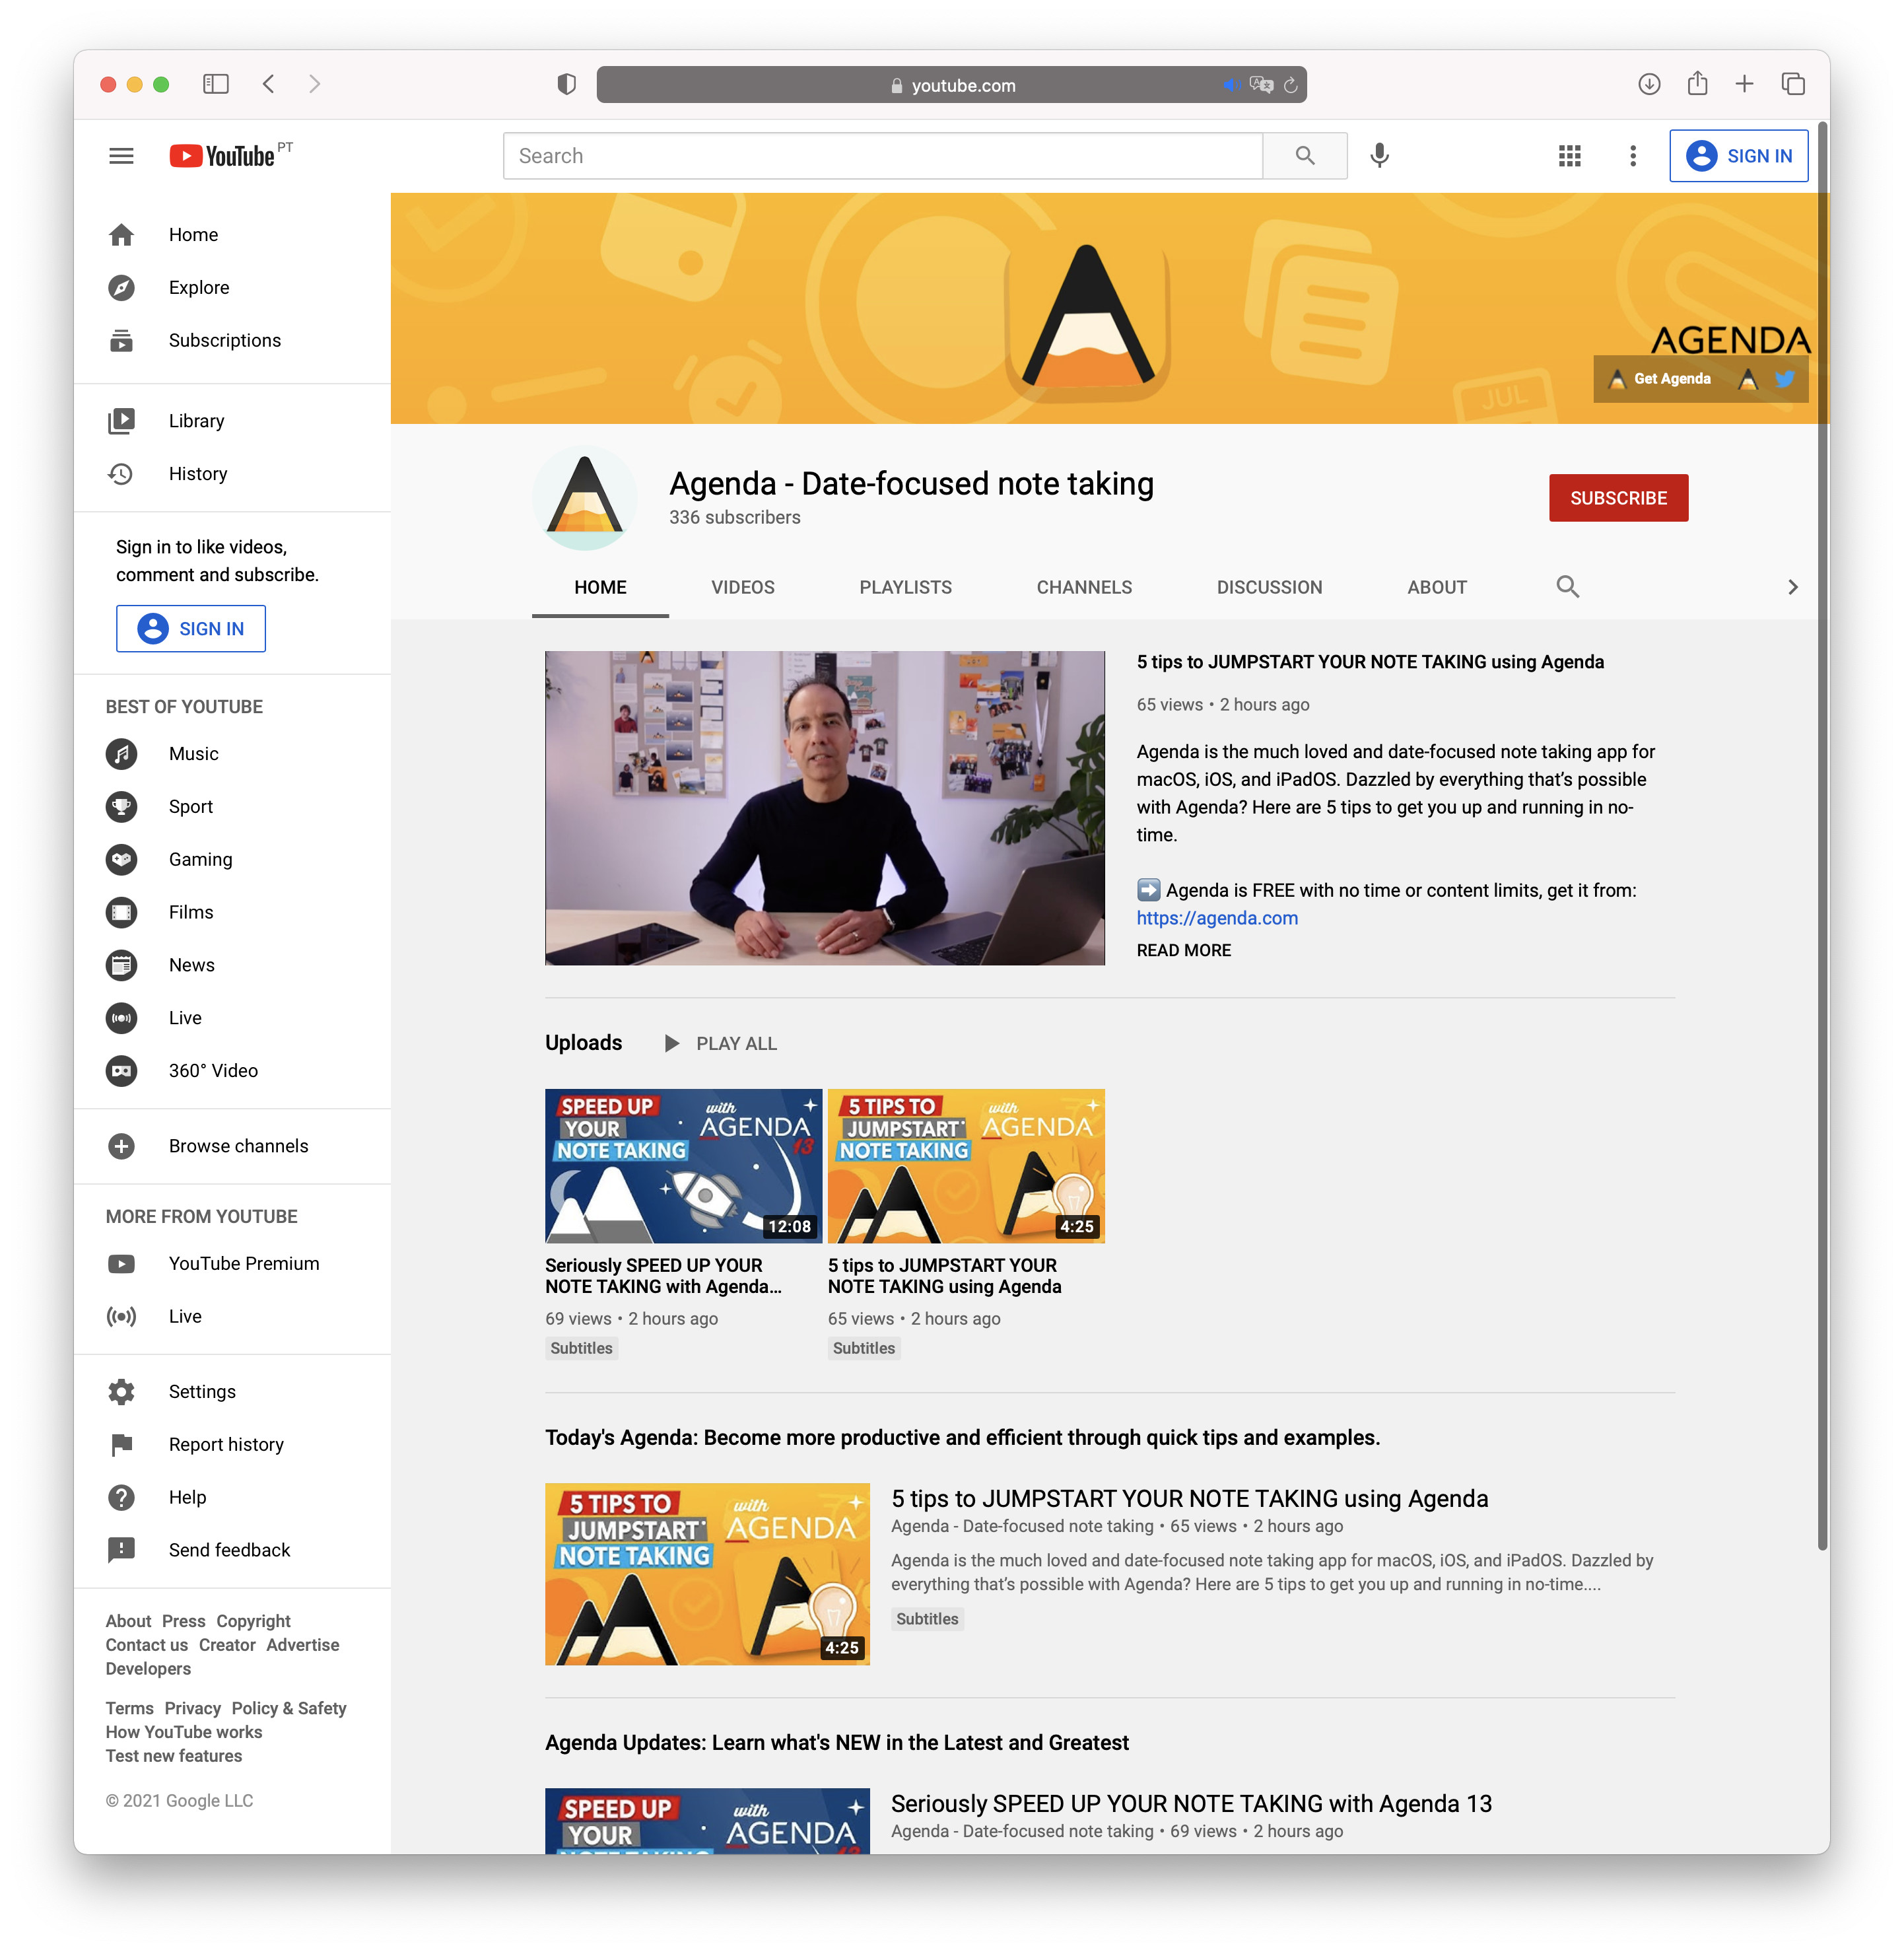
Agenda YouTube Channel
They say a picture is worth a thousand words, now image a video. Want to see Agenda in action? Learn about note taking techniques, how to use the latest Agenda features, or find out about helpful tip? Then be sure to check out the Agenda YouTube series on how to use Agenda, and becoming more productive and efficient through tips and examples.